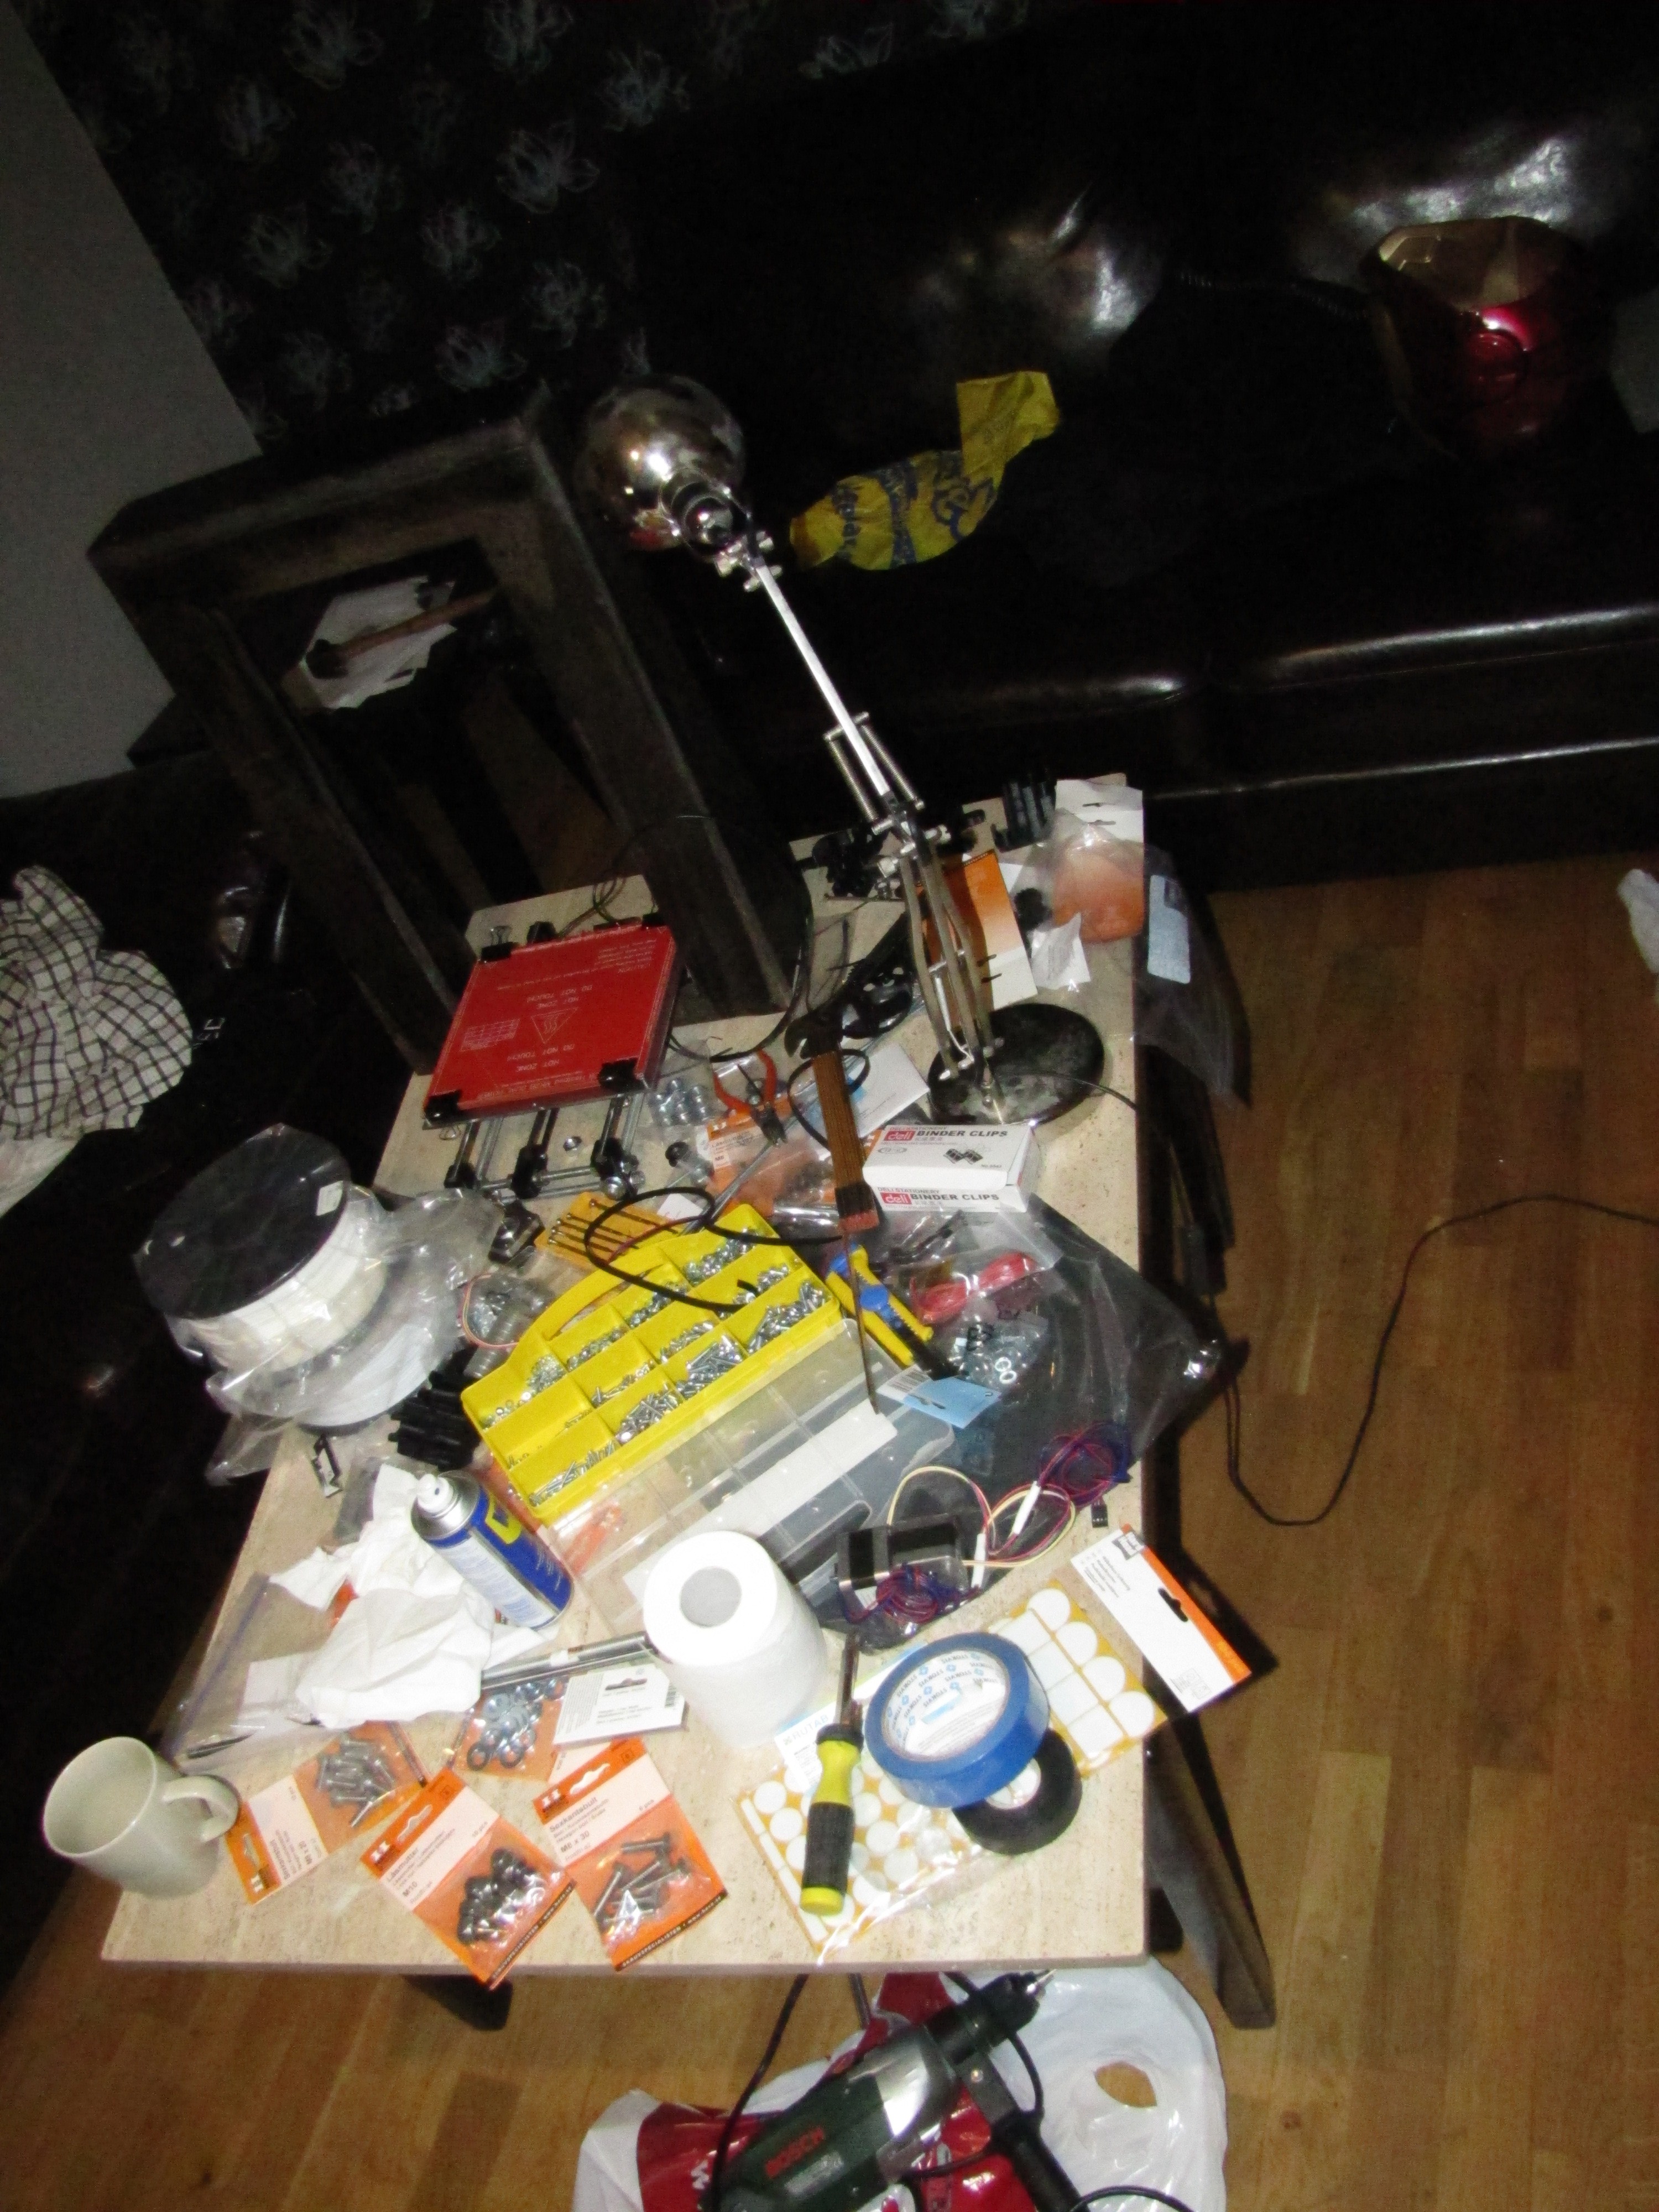
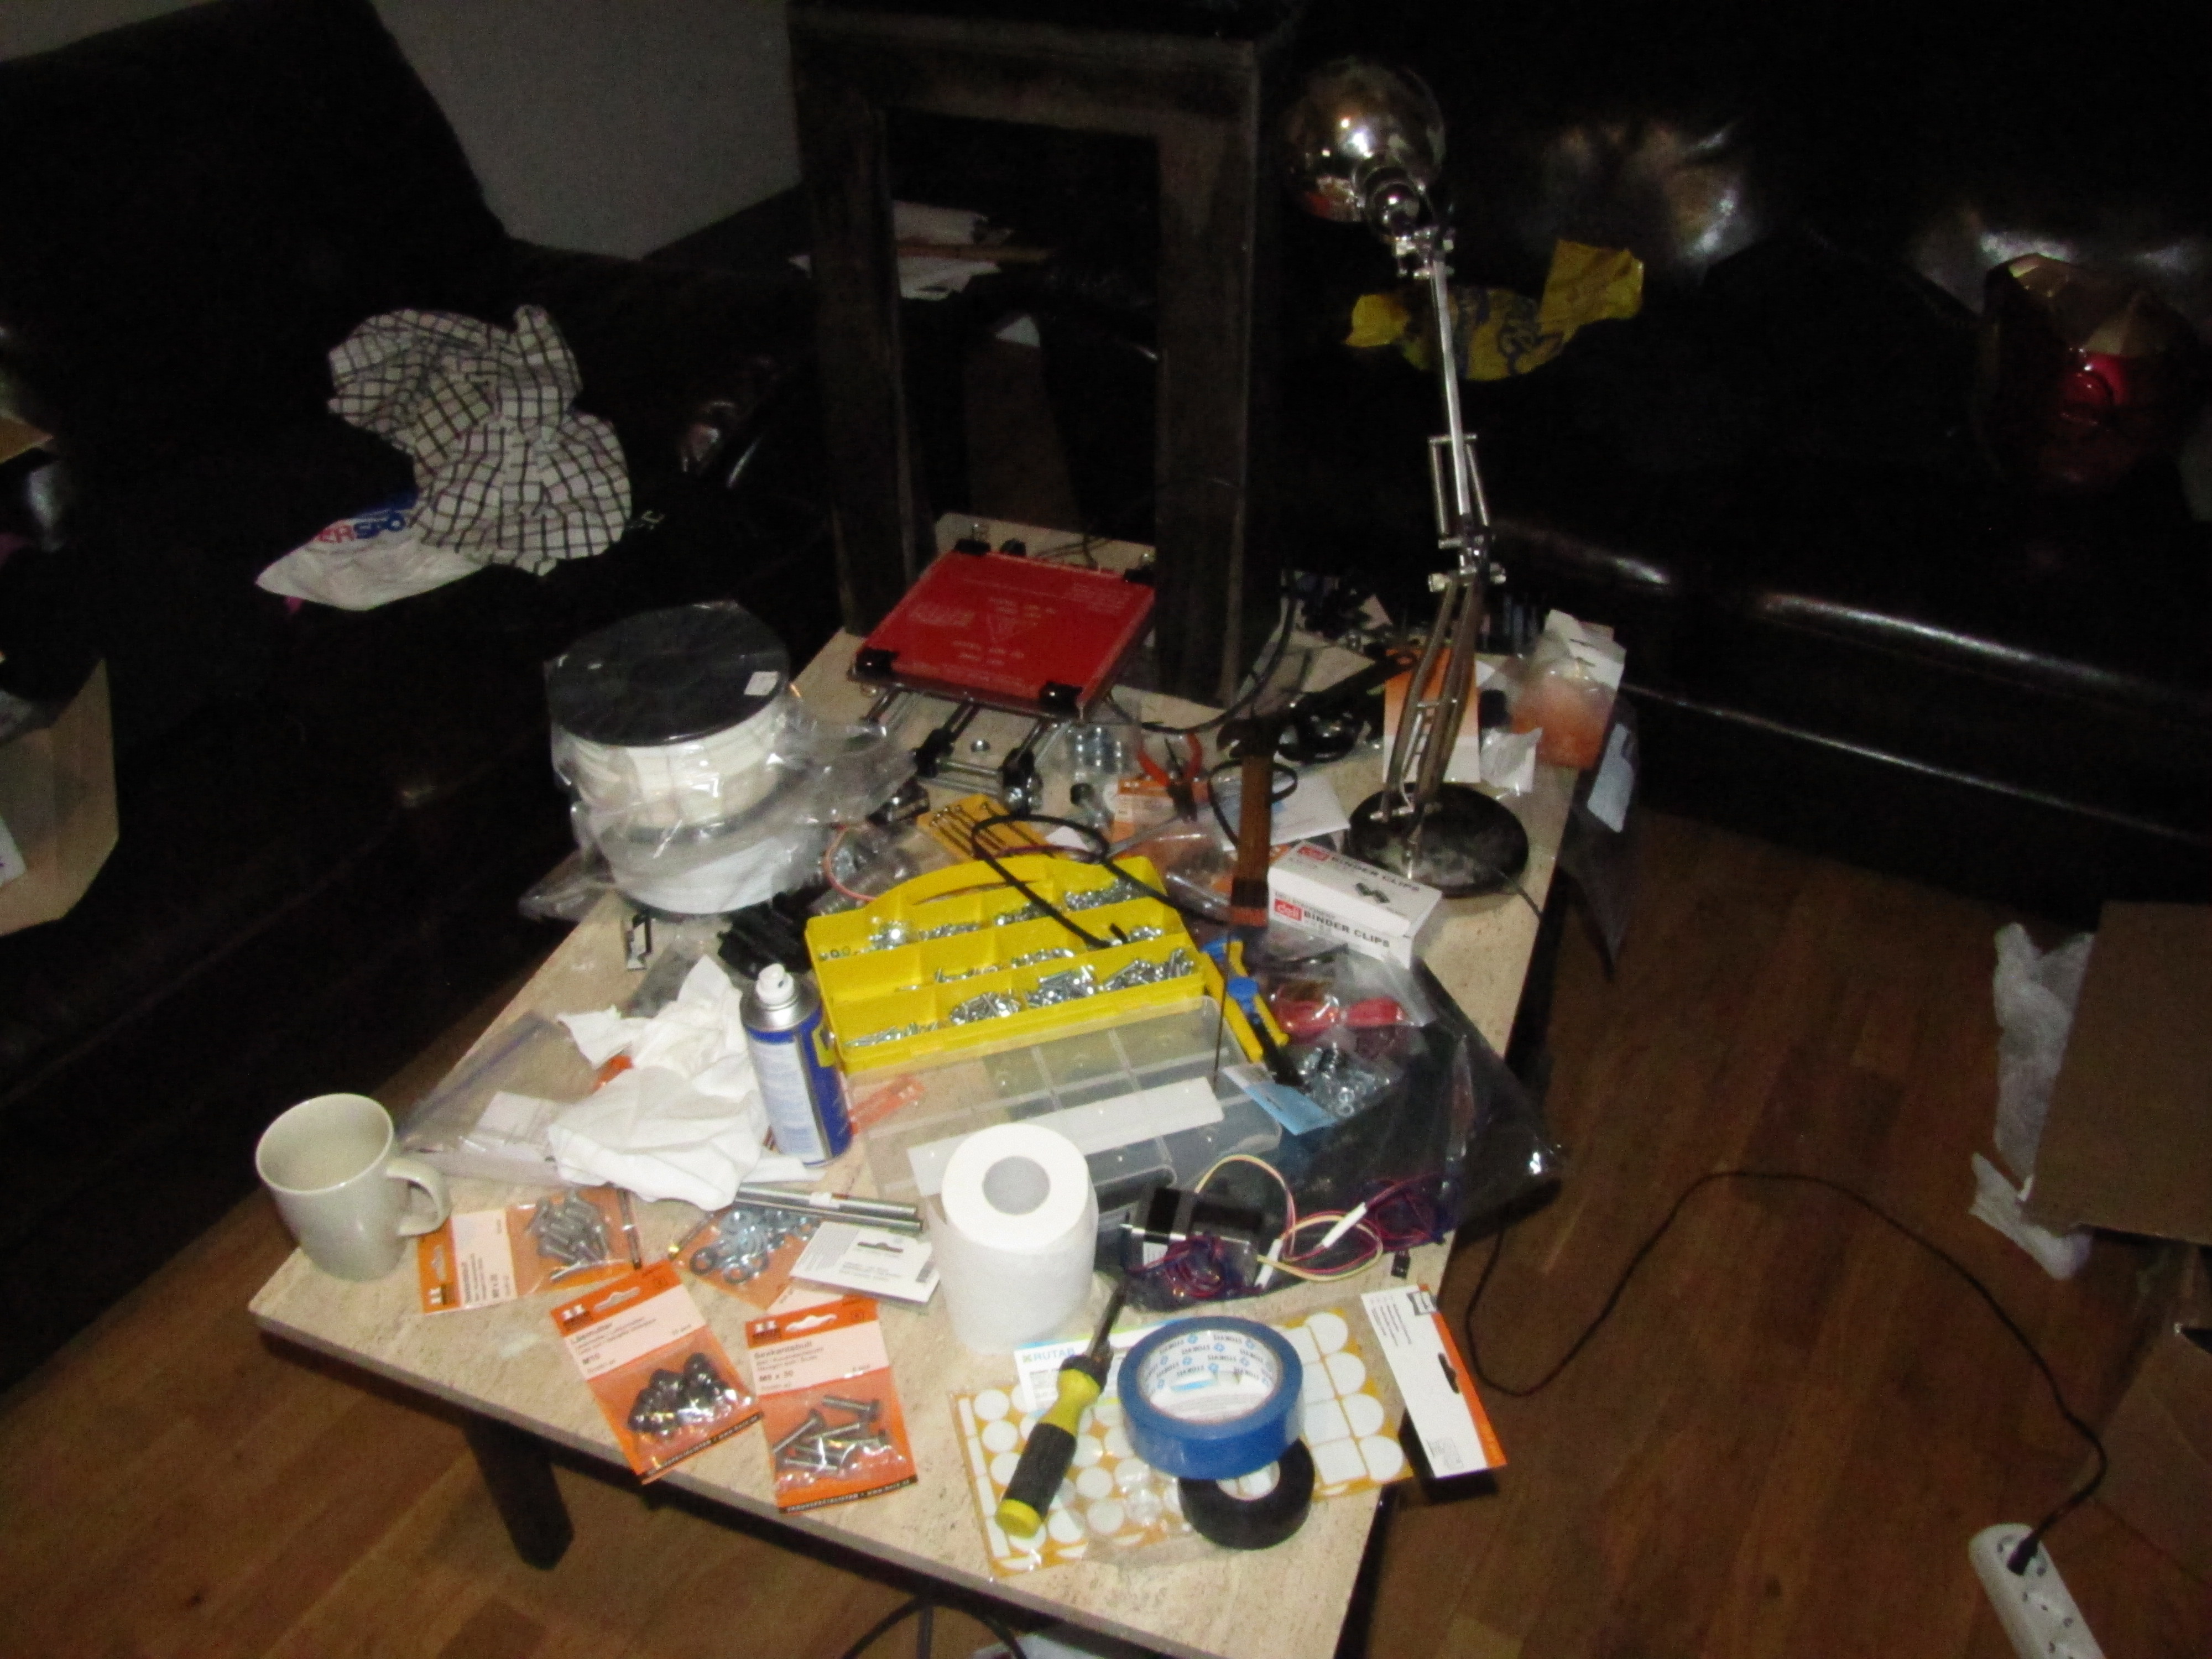
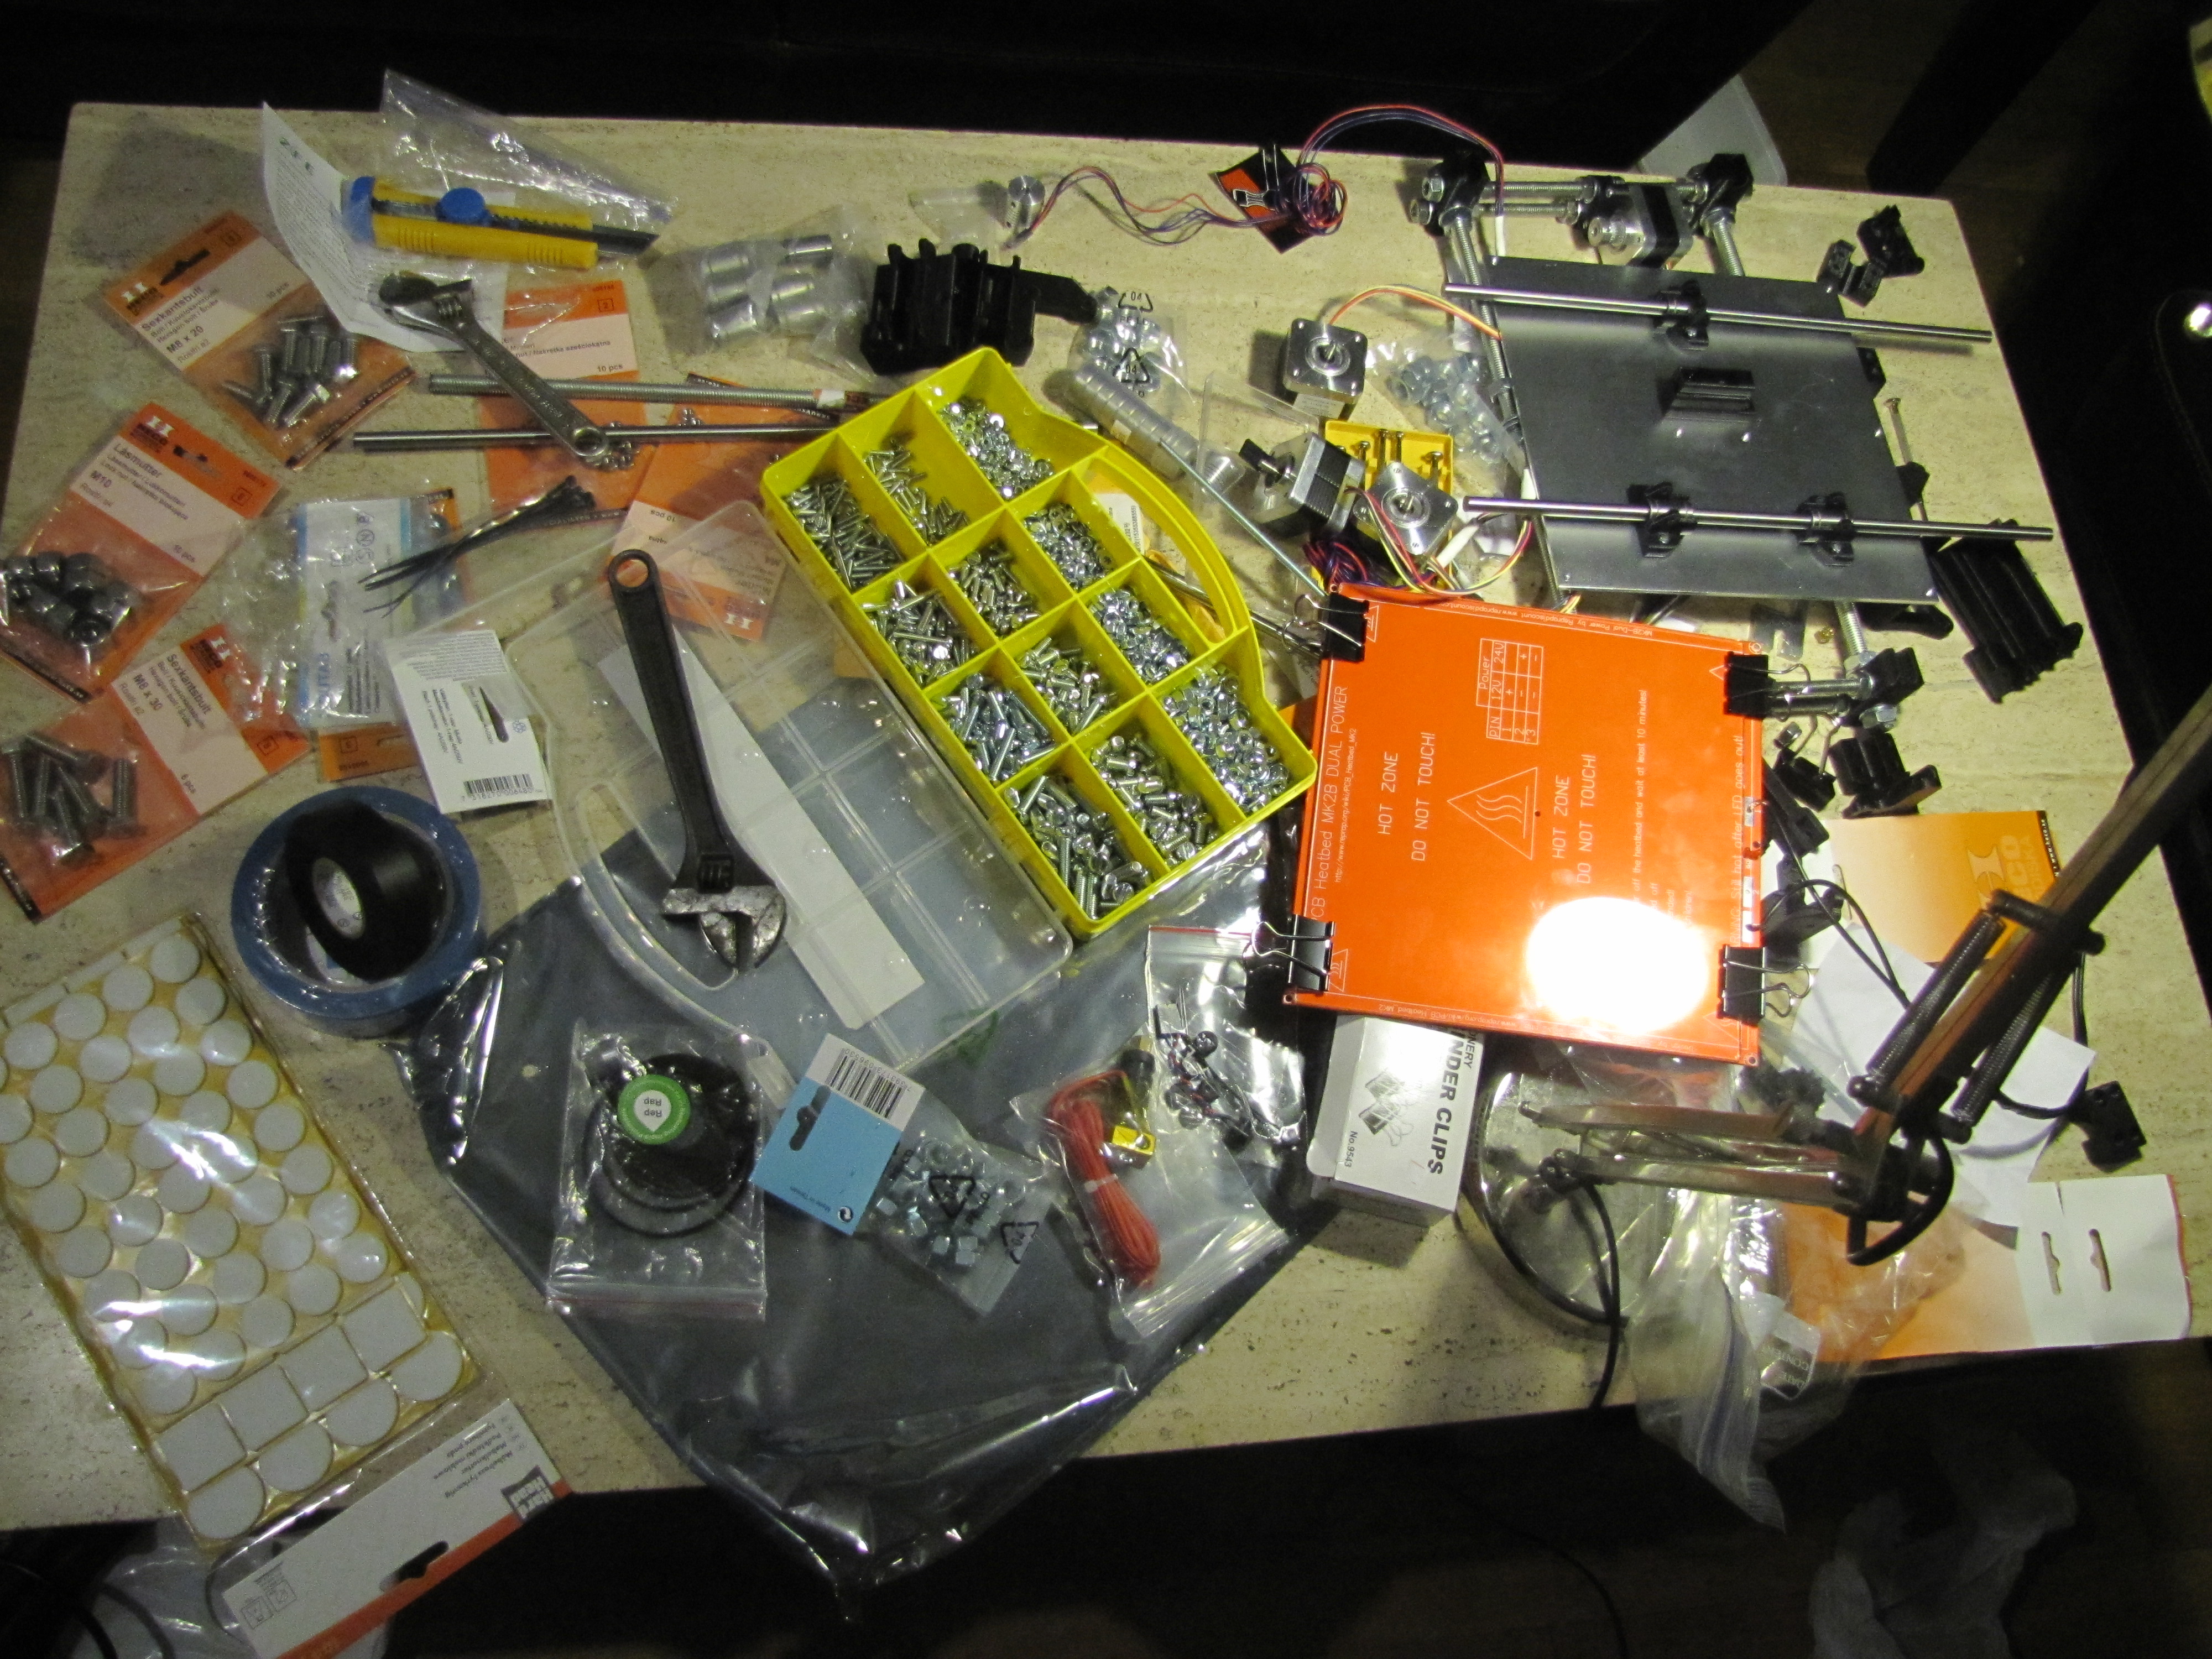
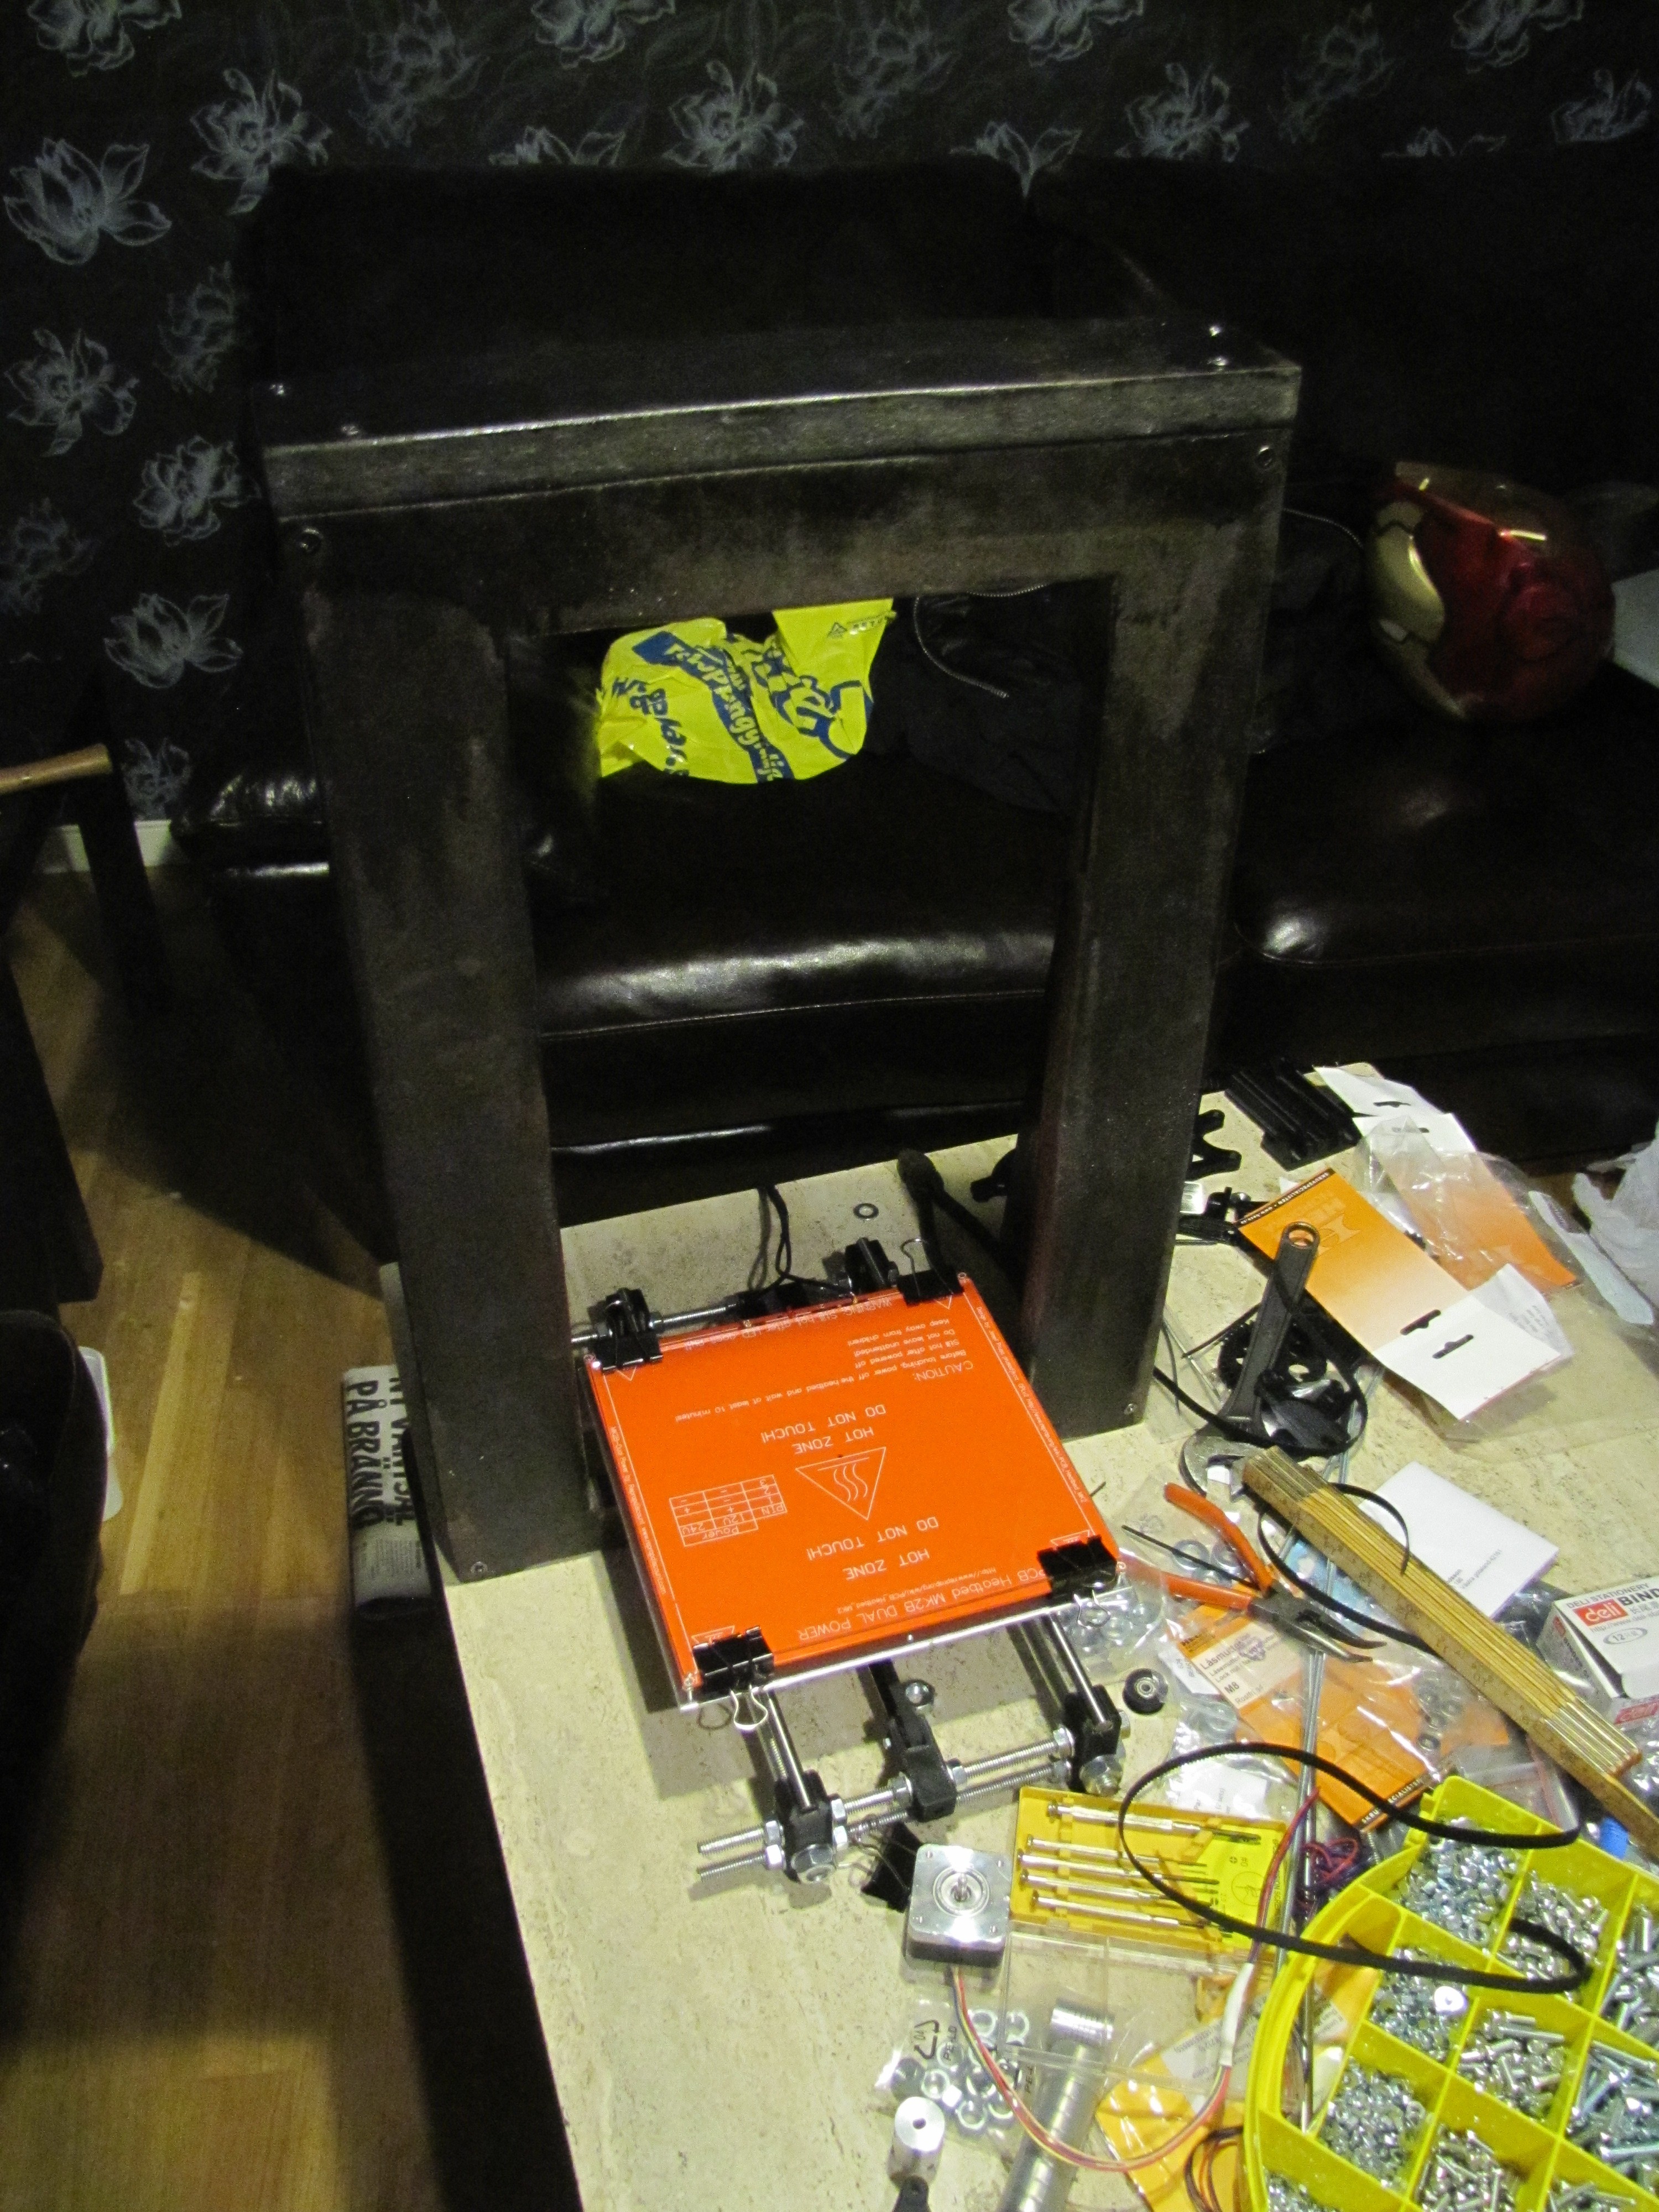
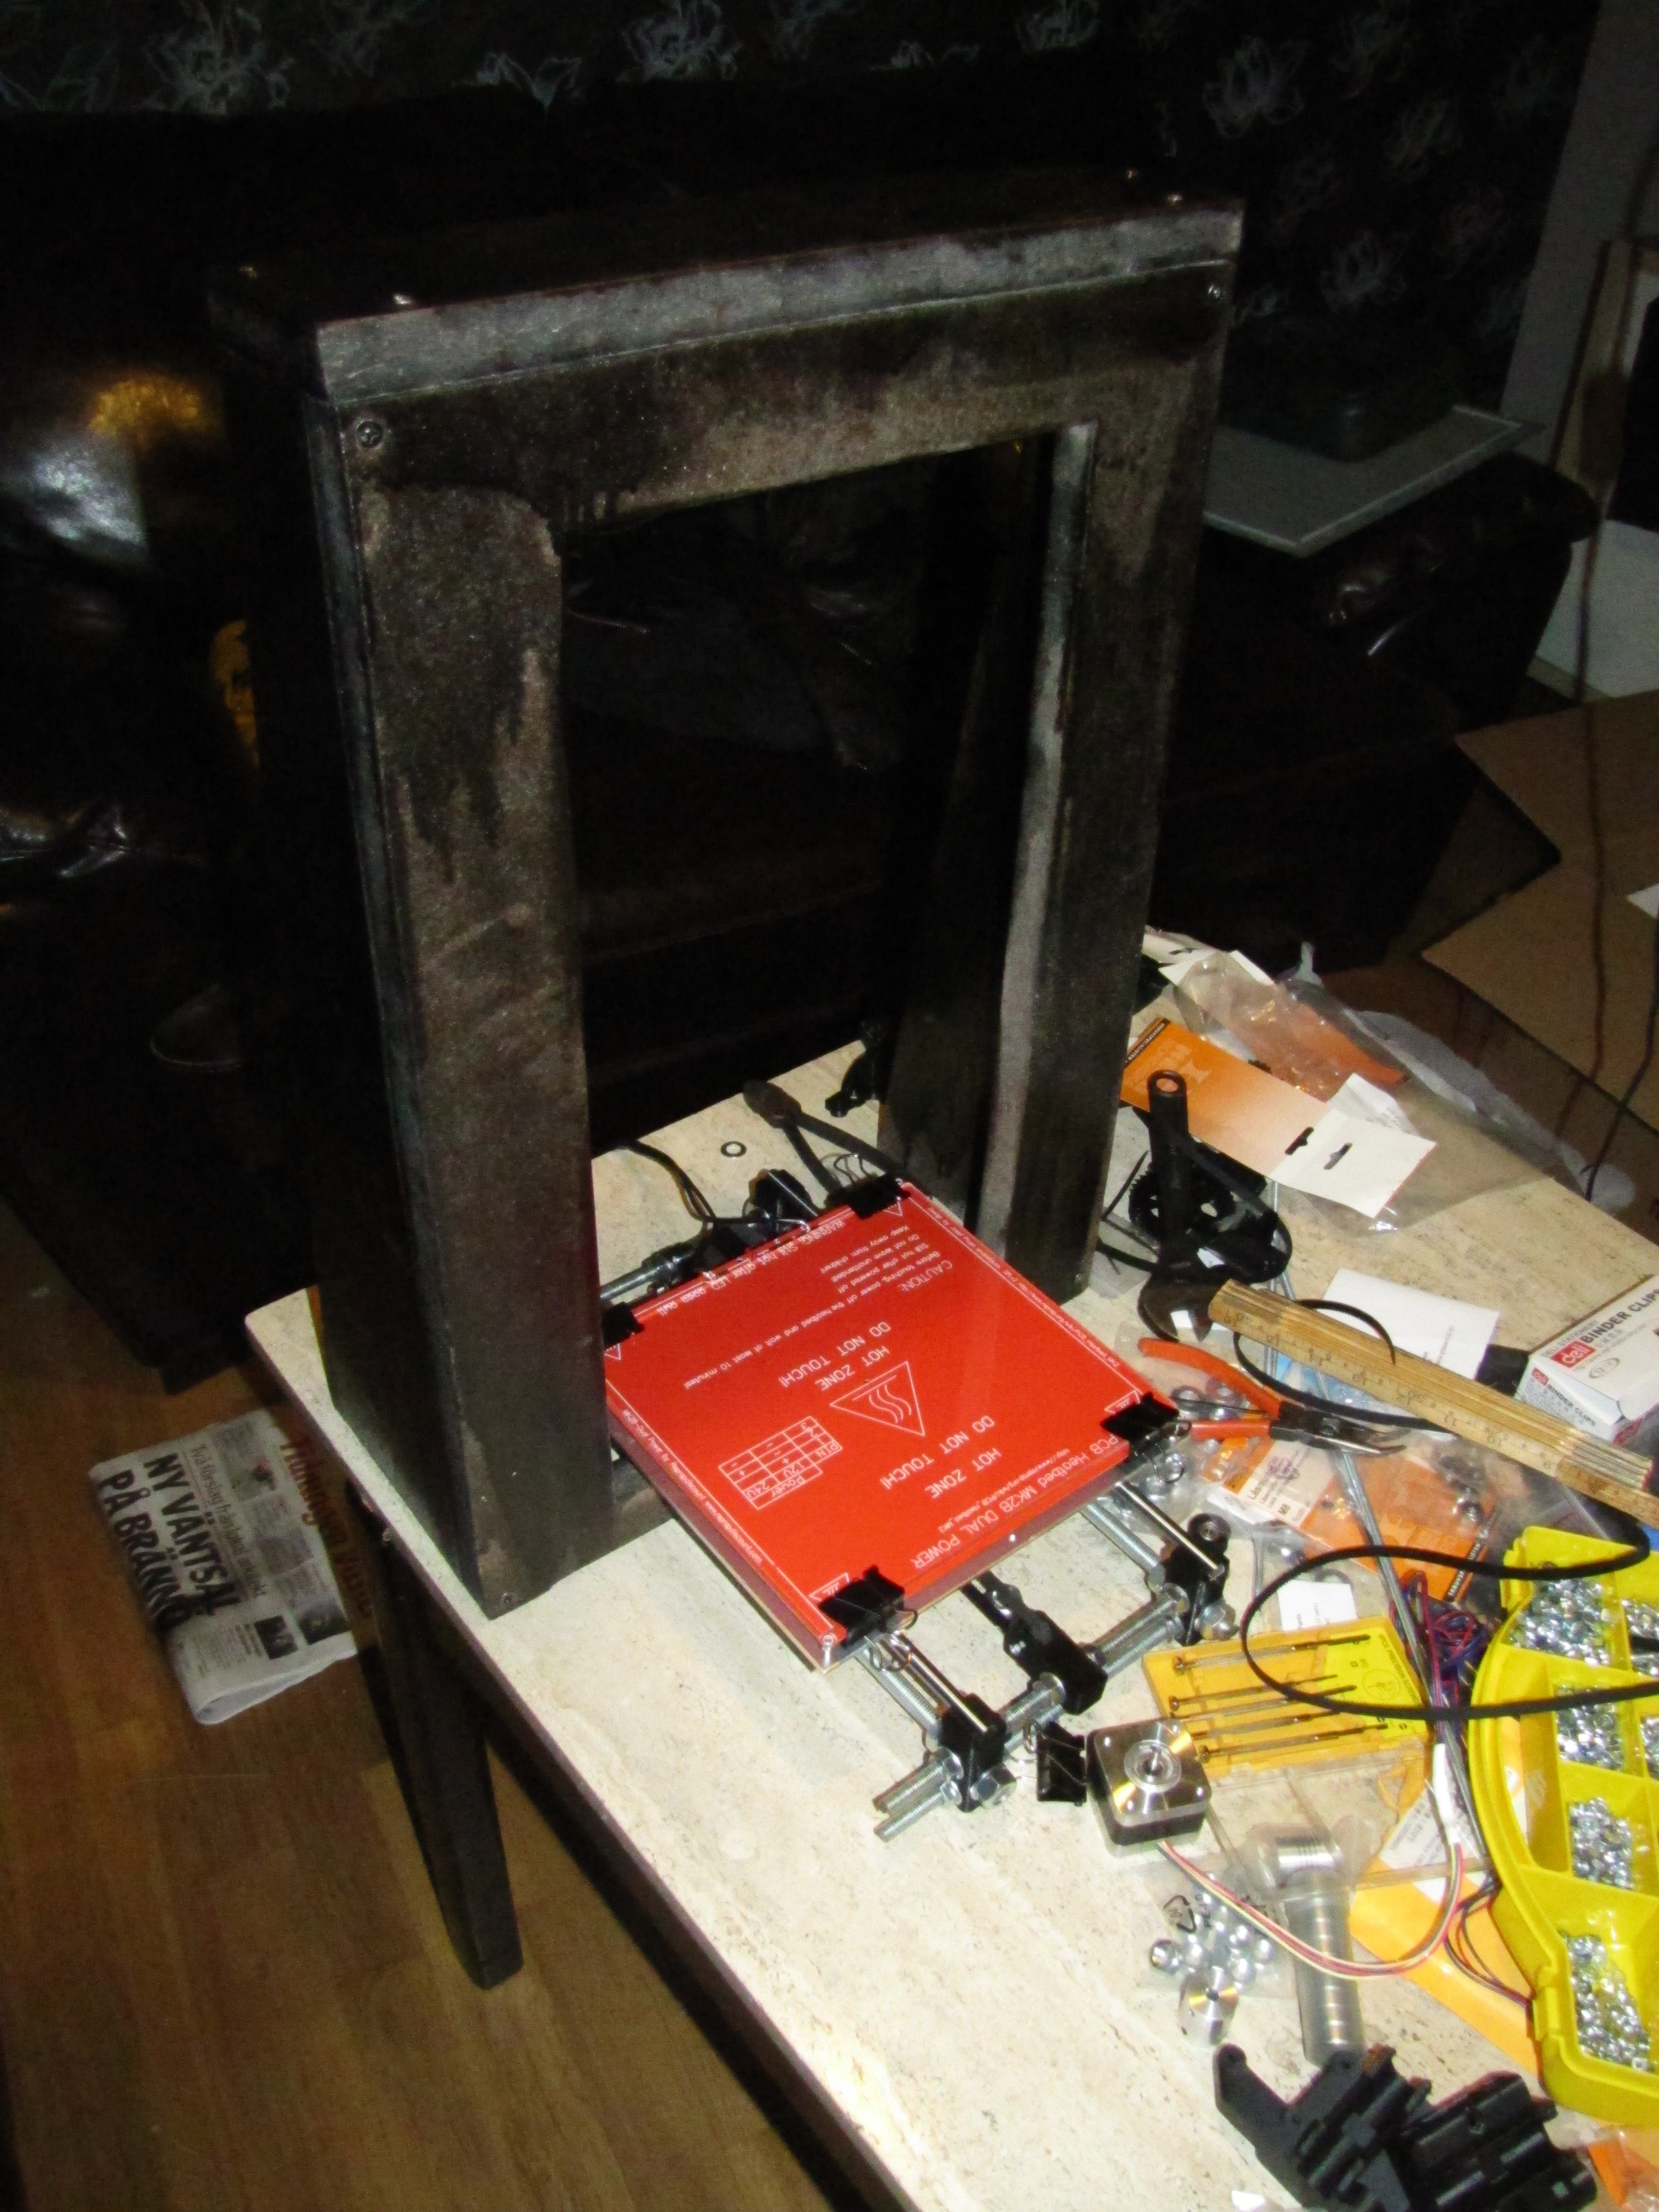
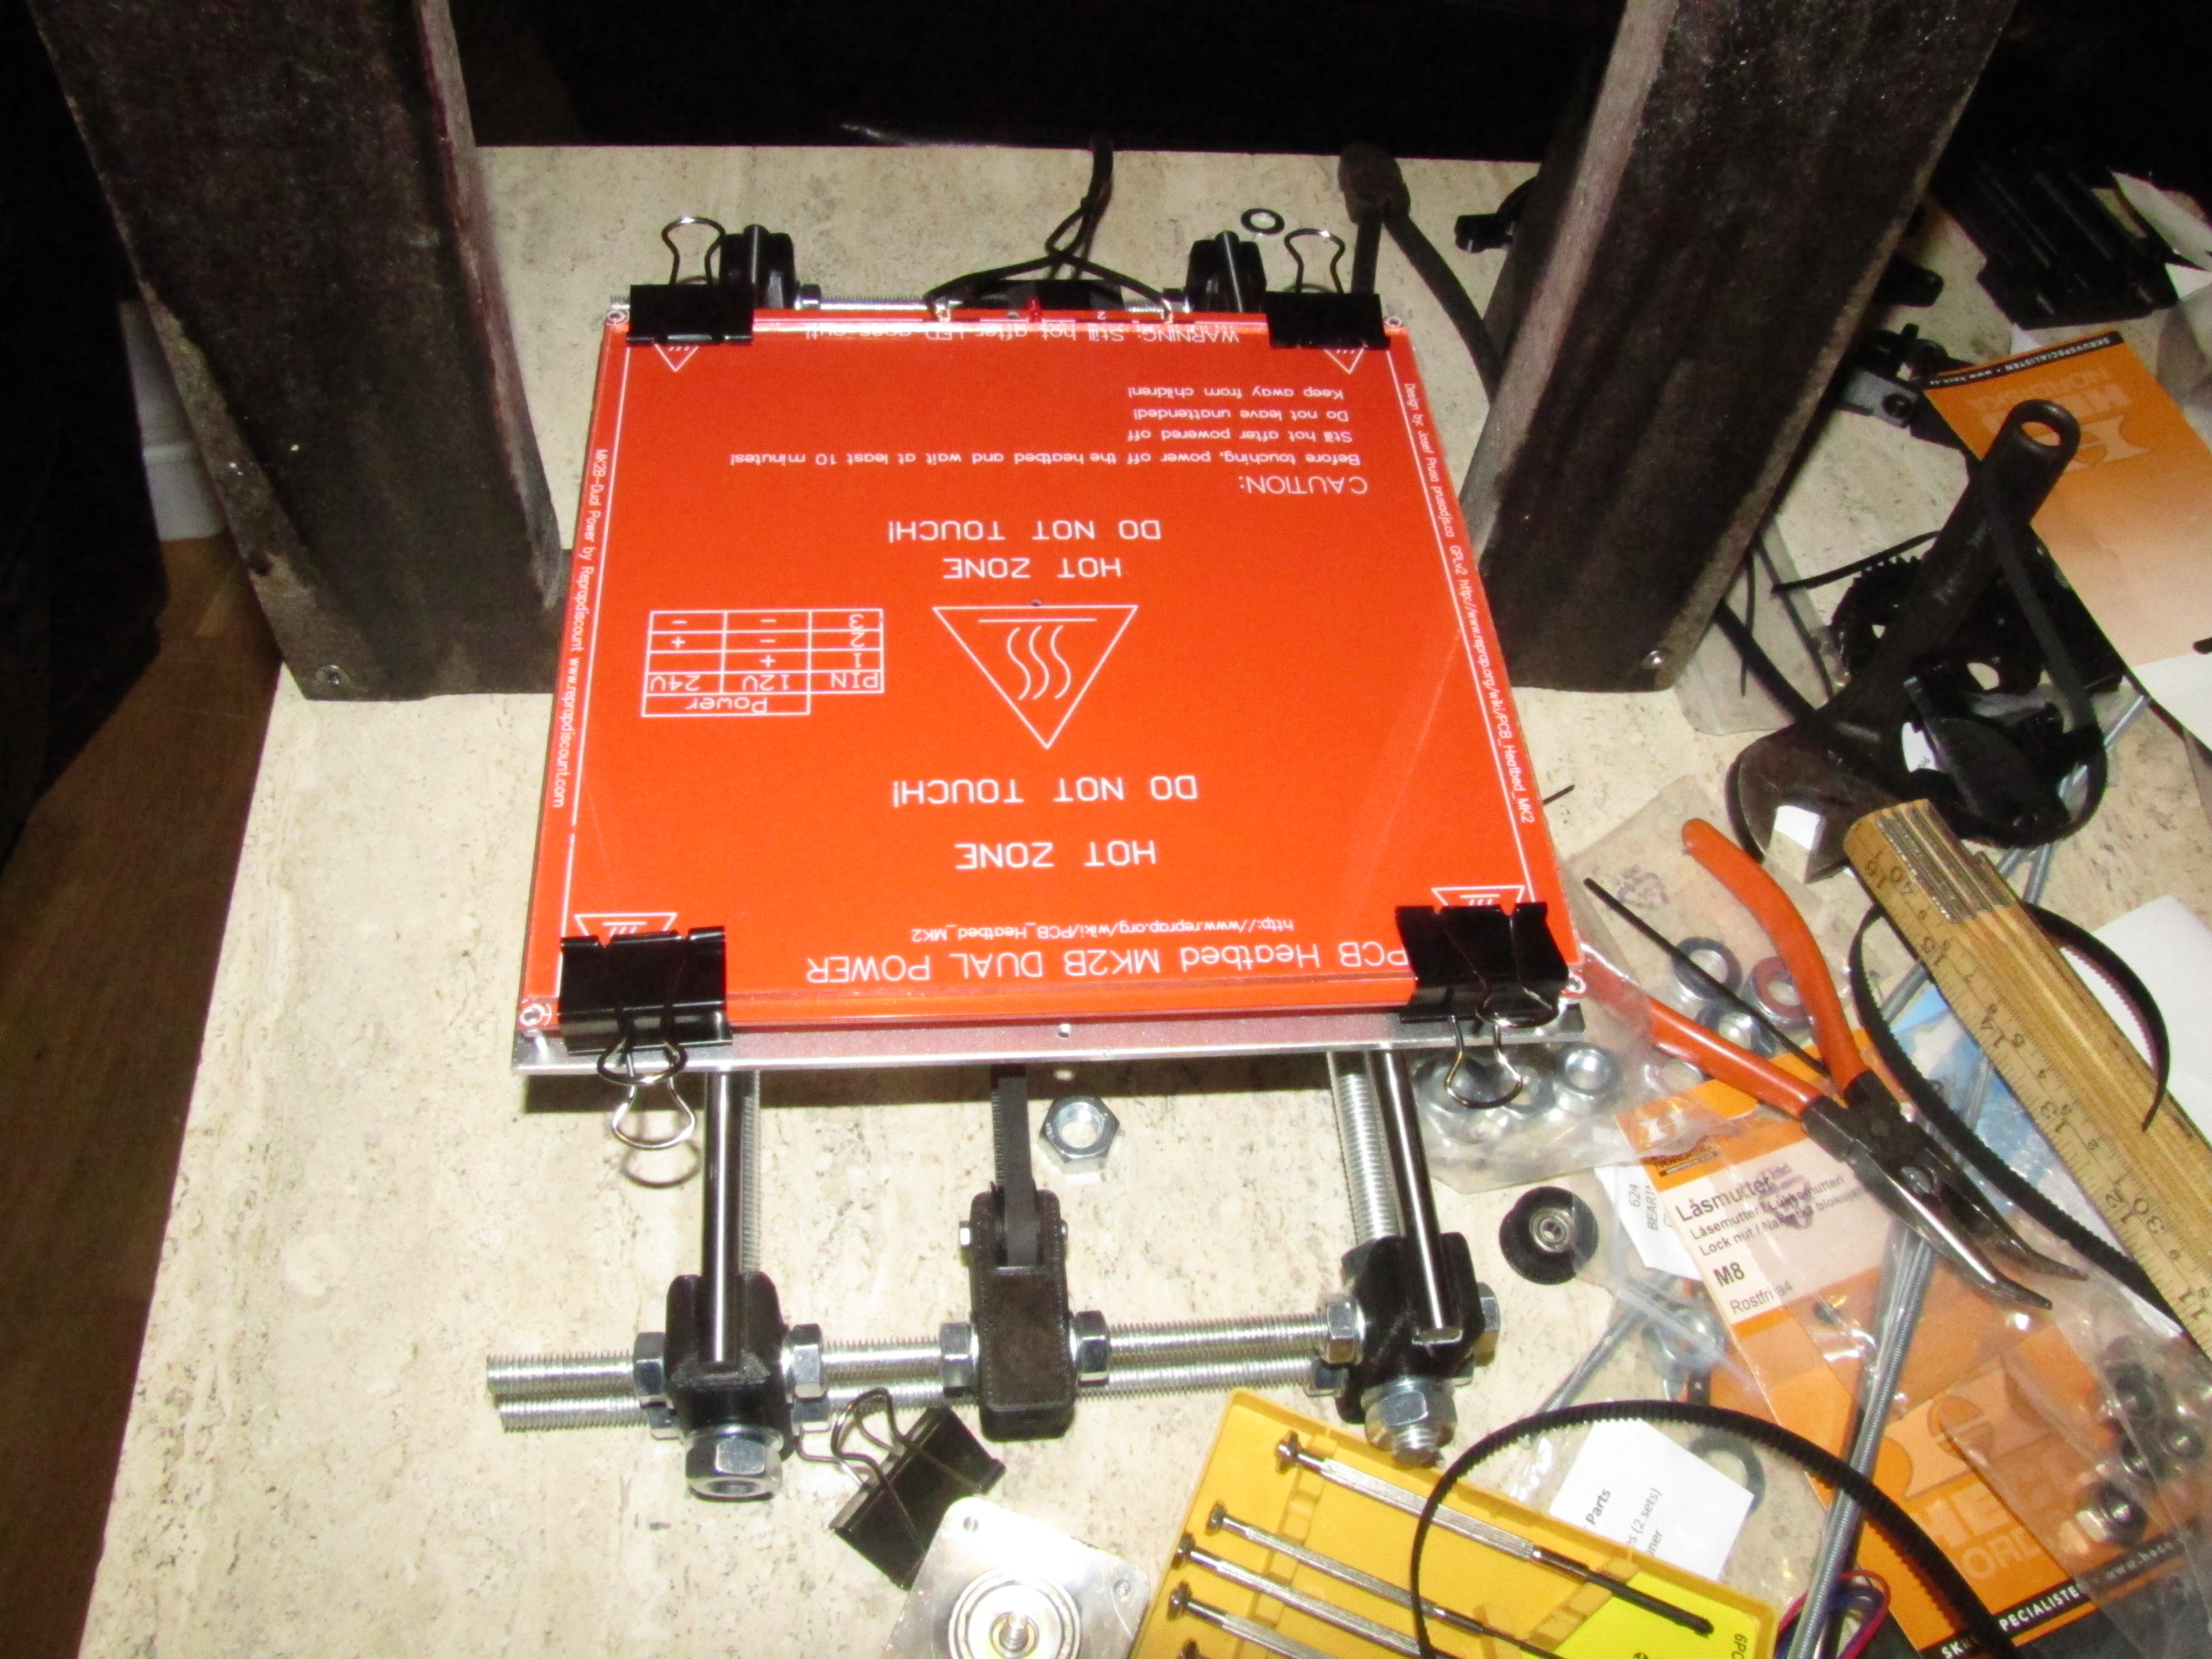
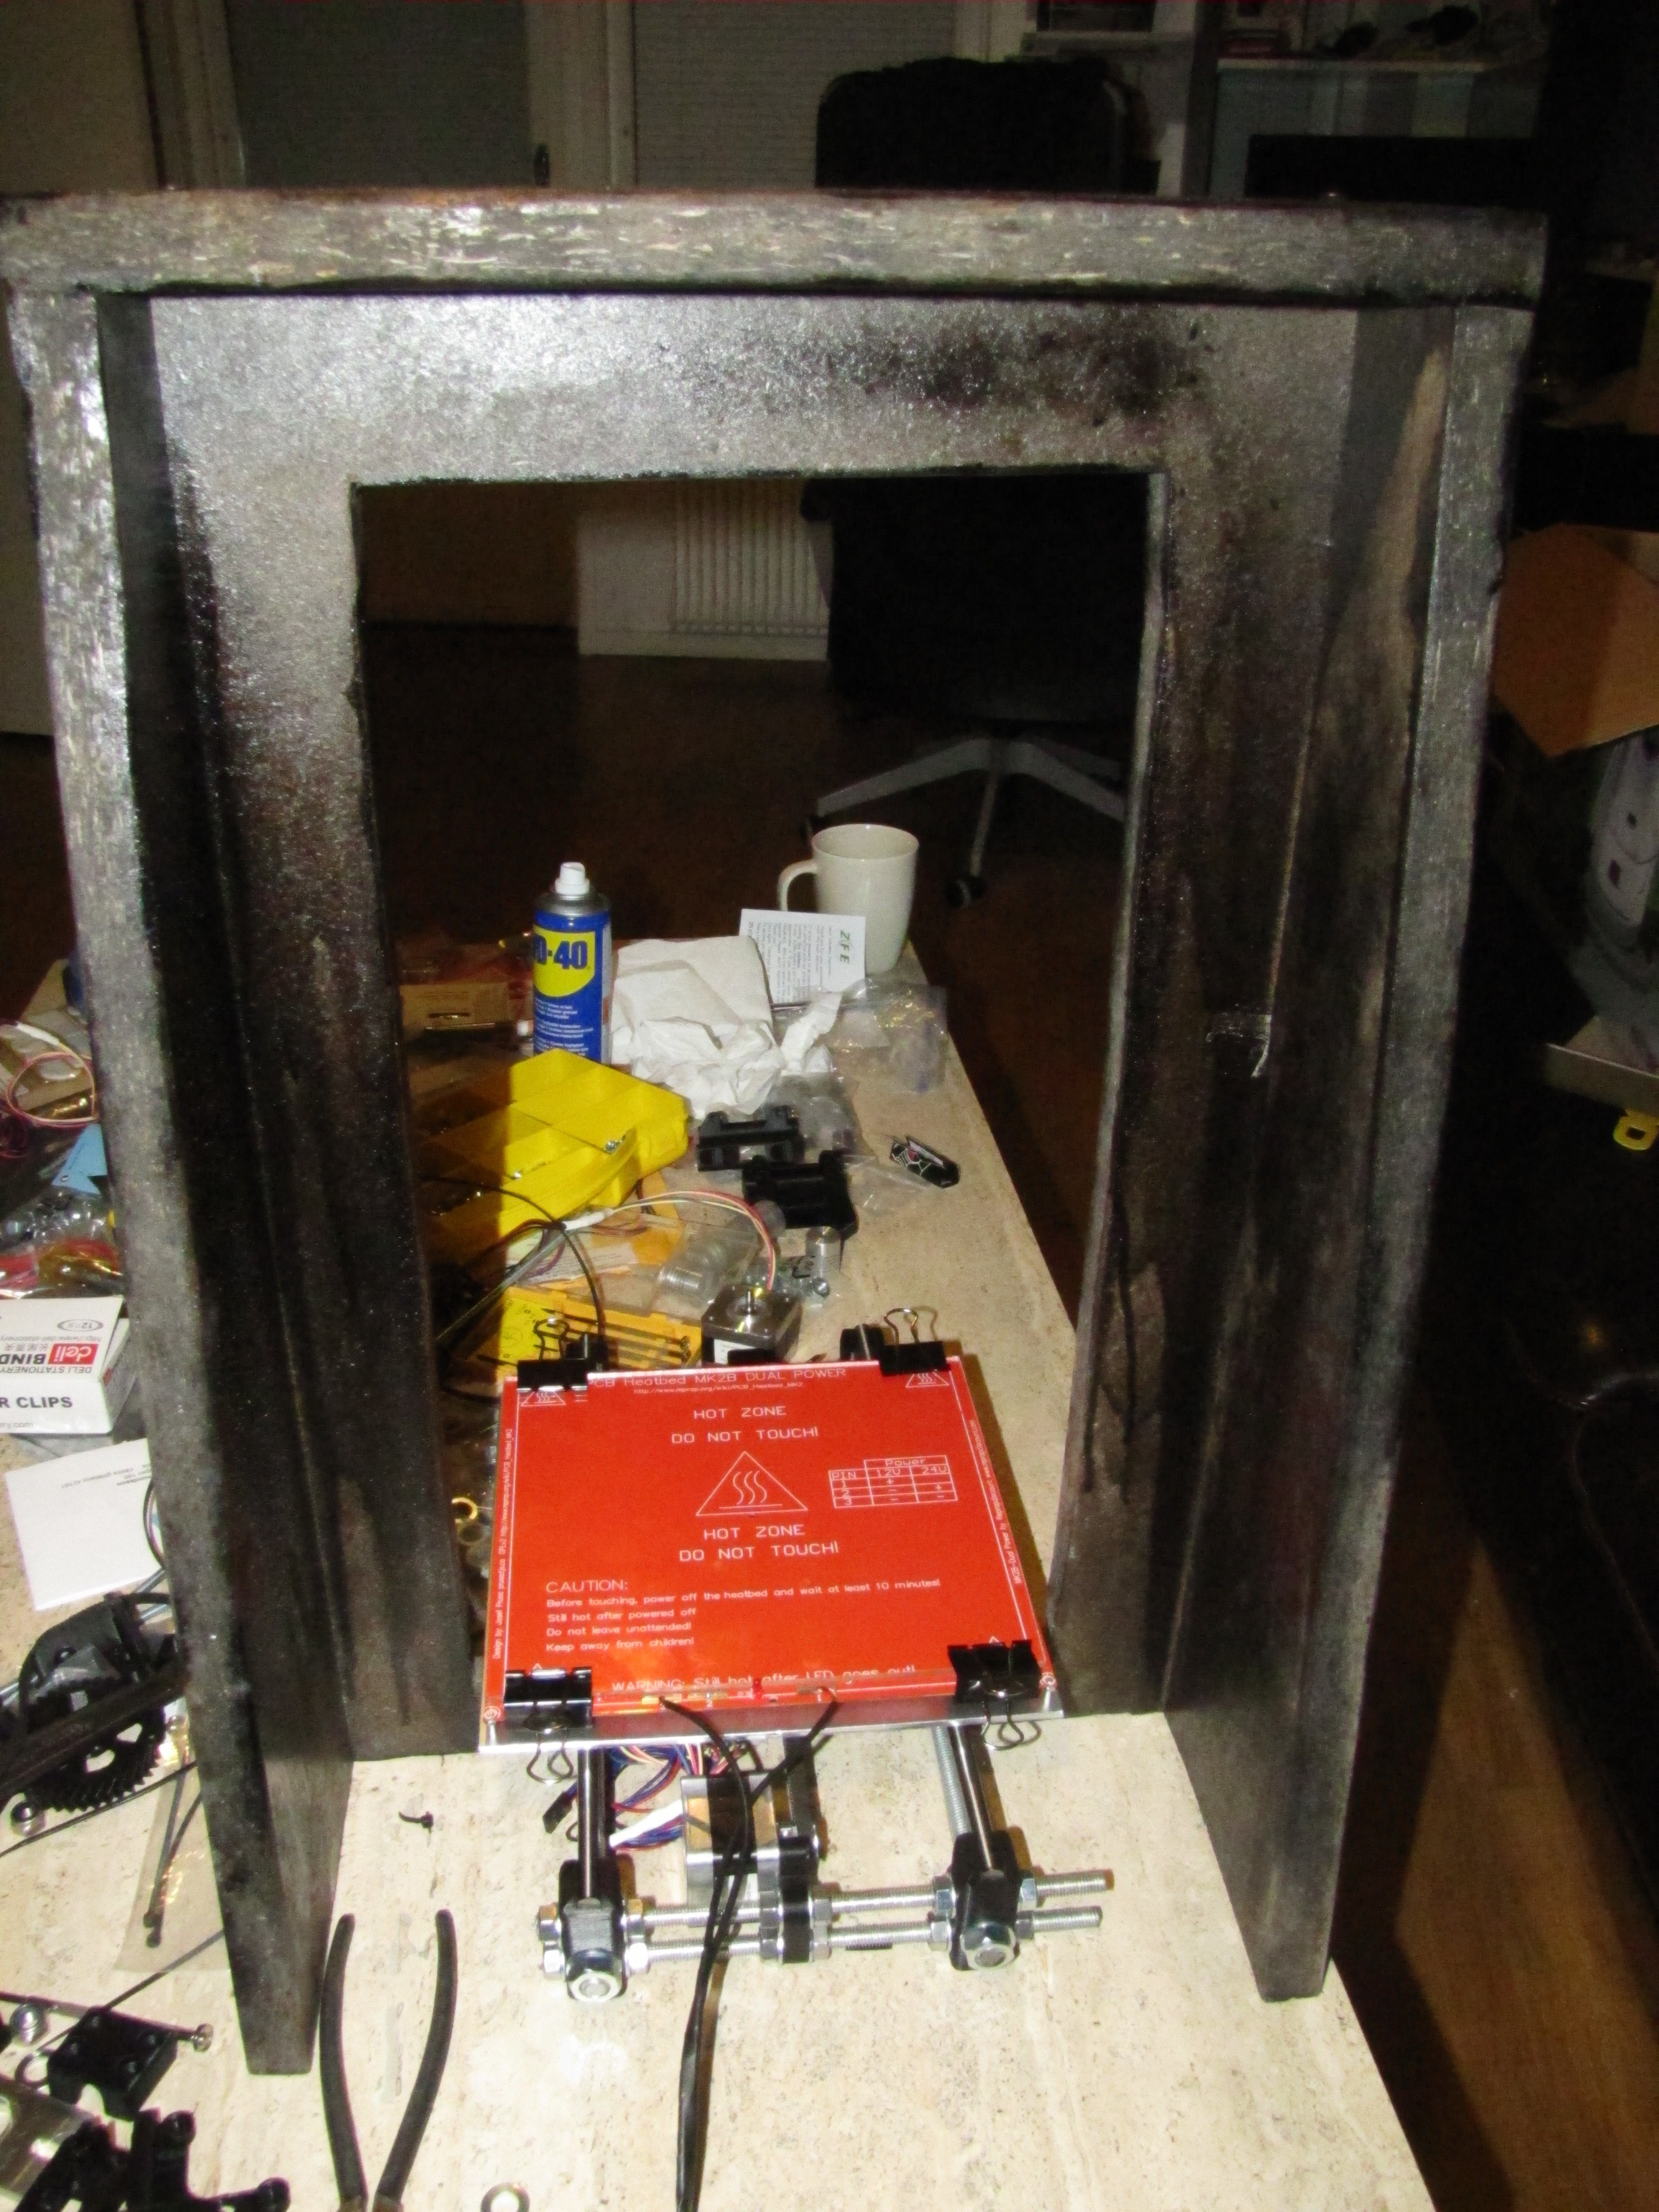
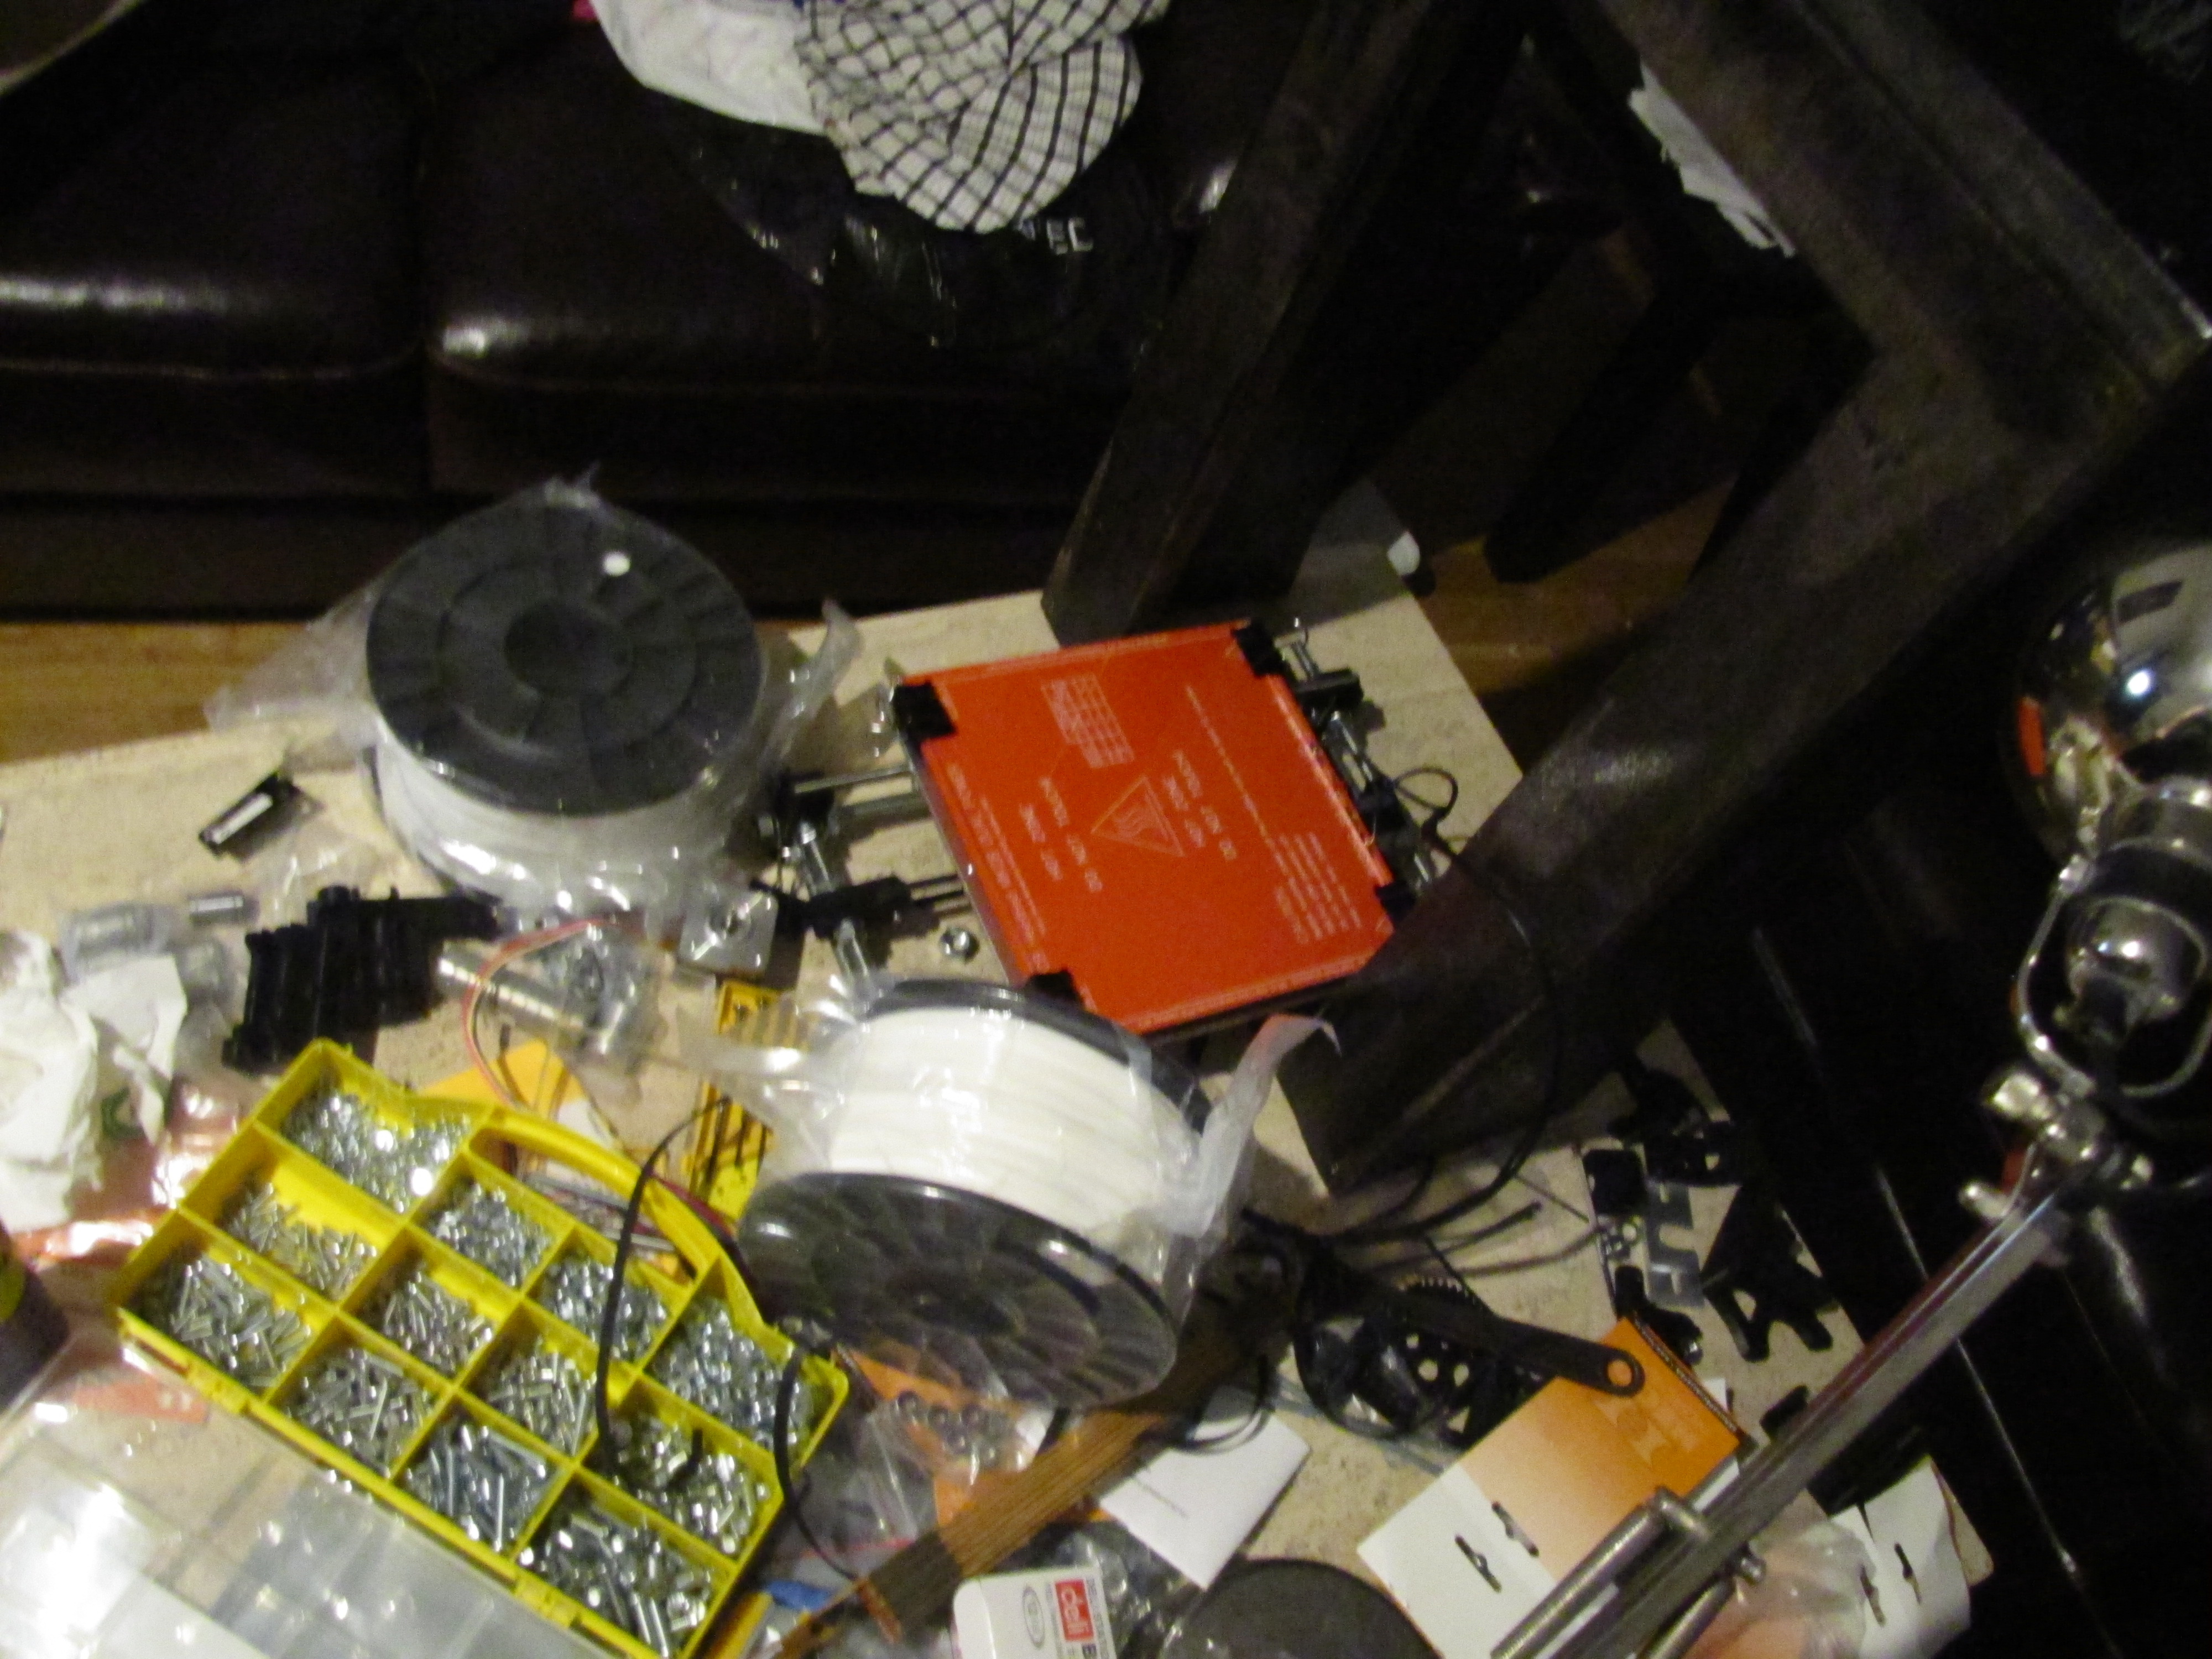
With all the parts delivered it was time to assemble.
I’m not going to go through the whole build process. But it consisted of loads of screwing around (pun intended) and It’s not the prettiest build but i honestly don’t care about looks. It’s function I’m after.
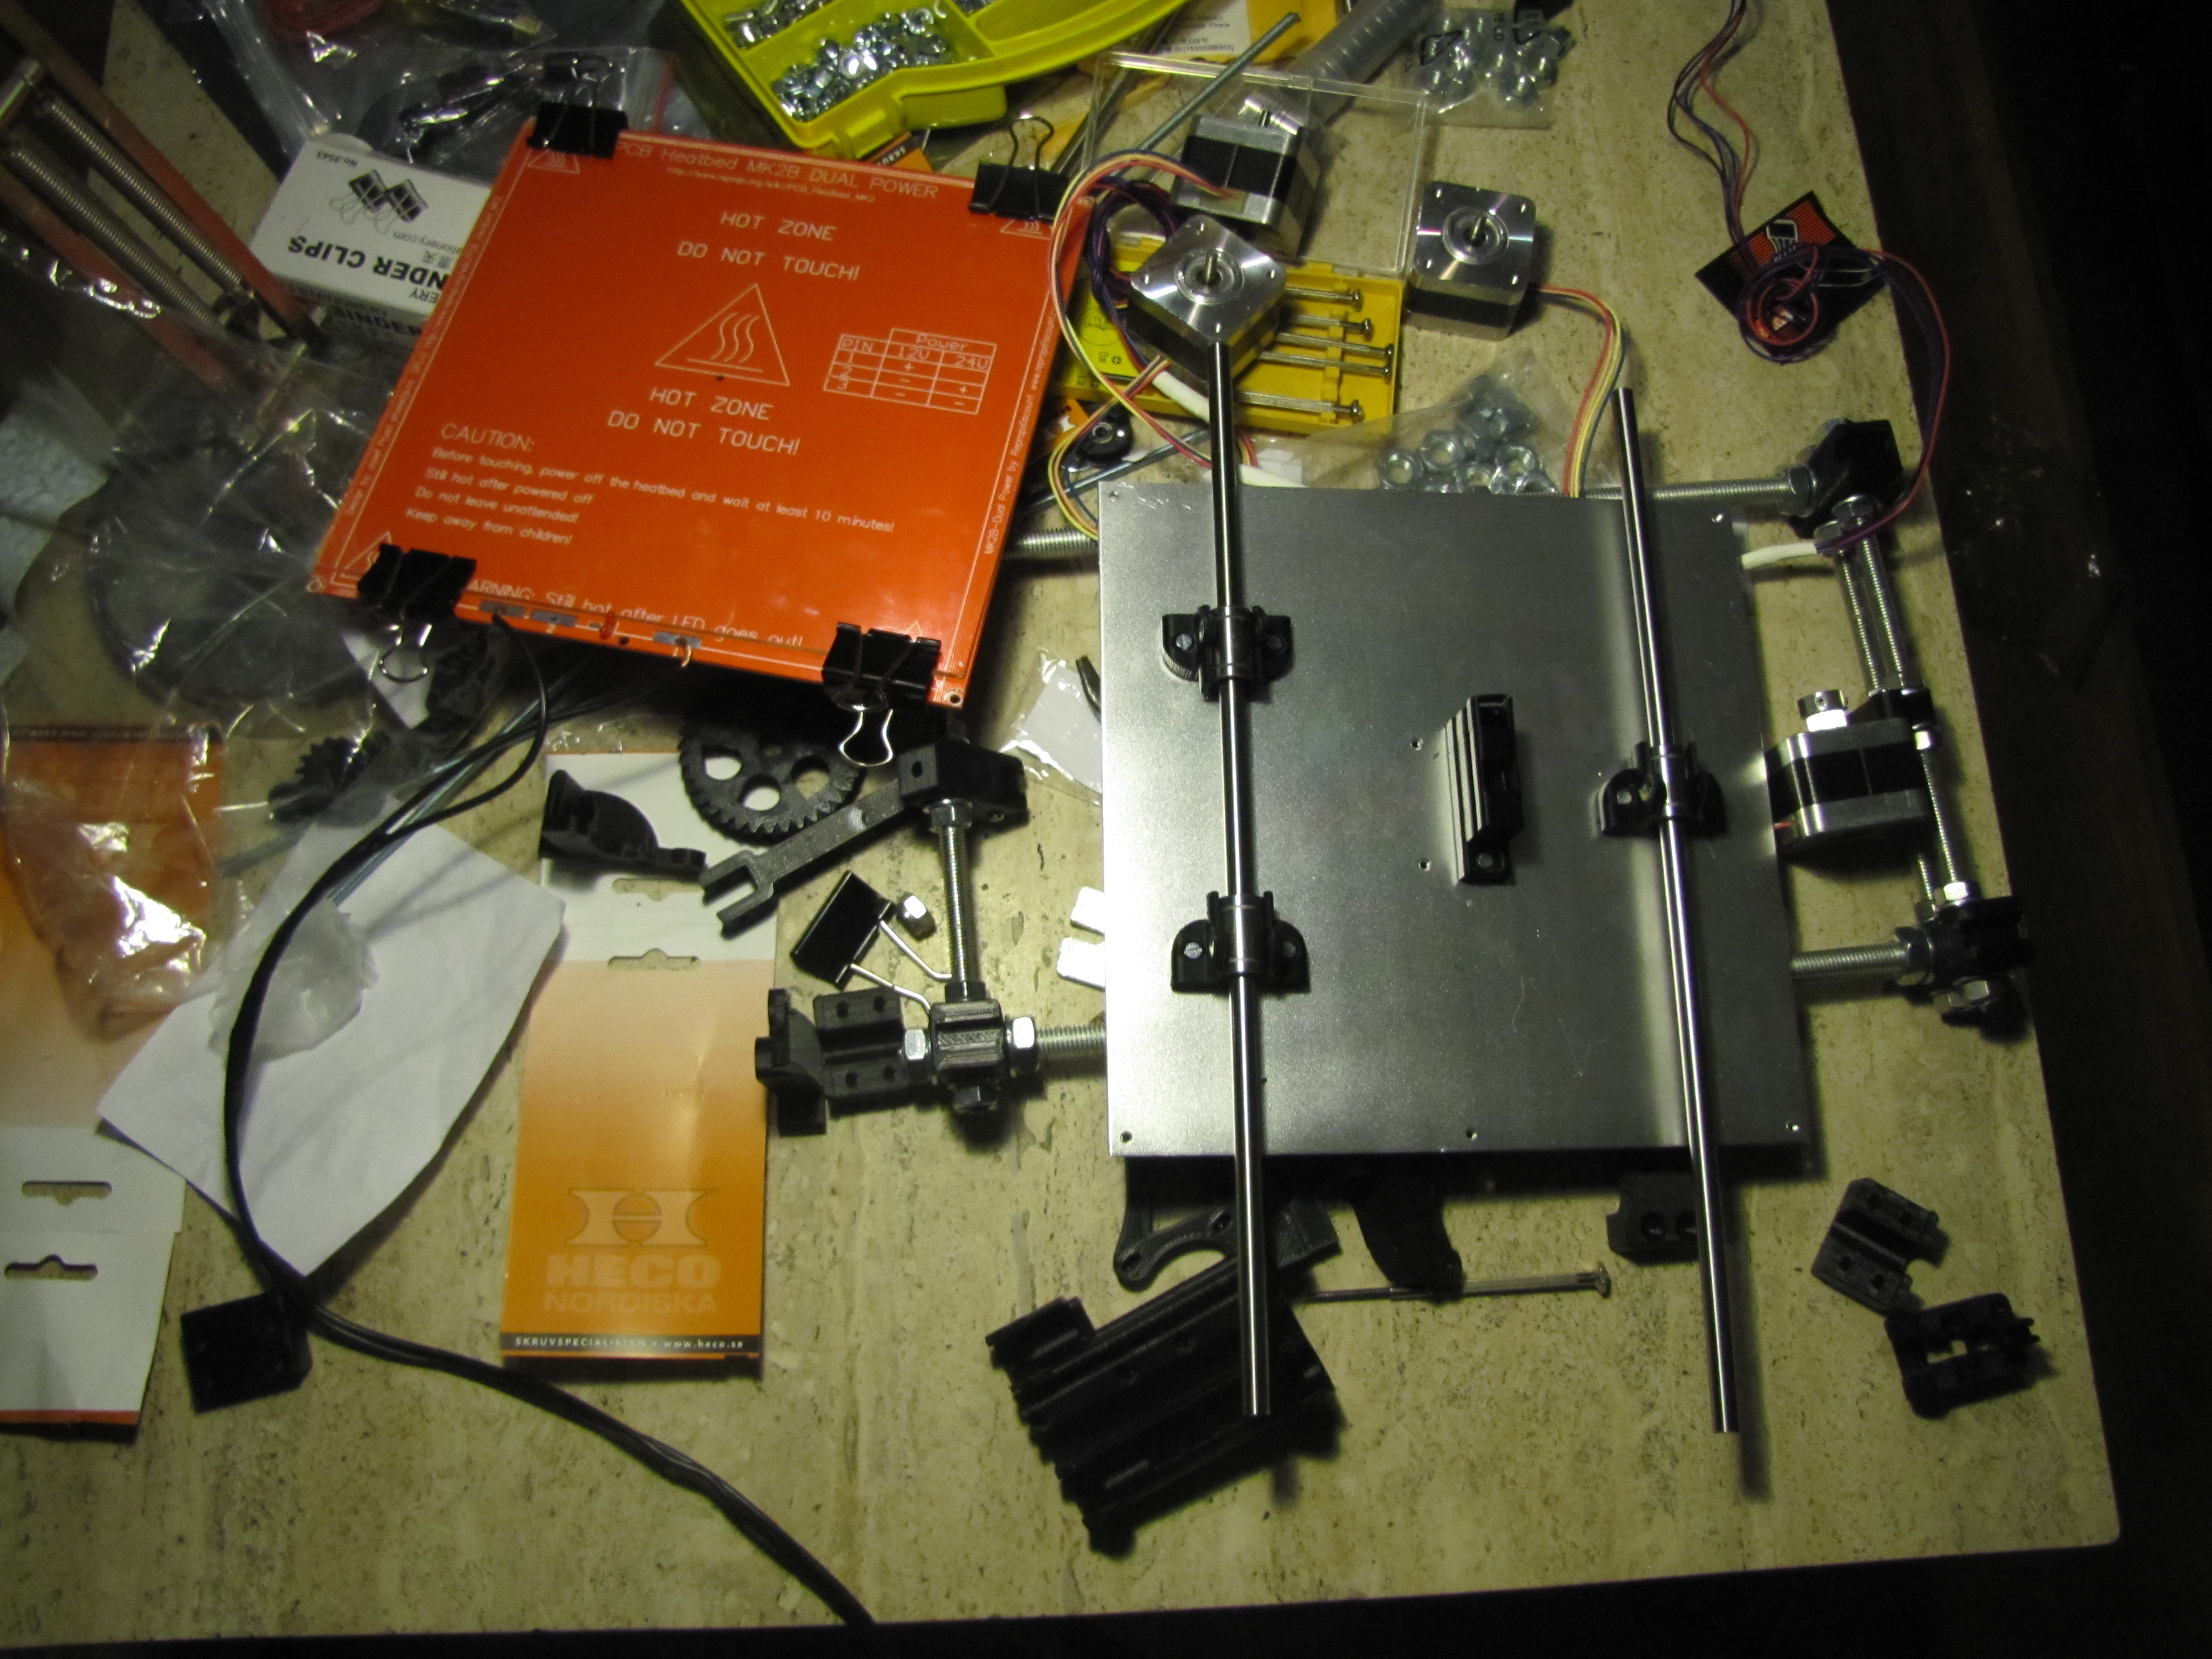
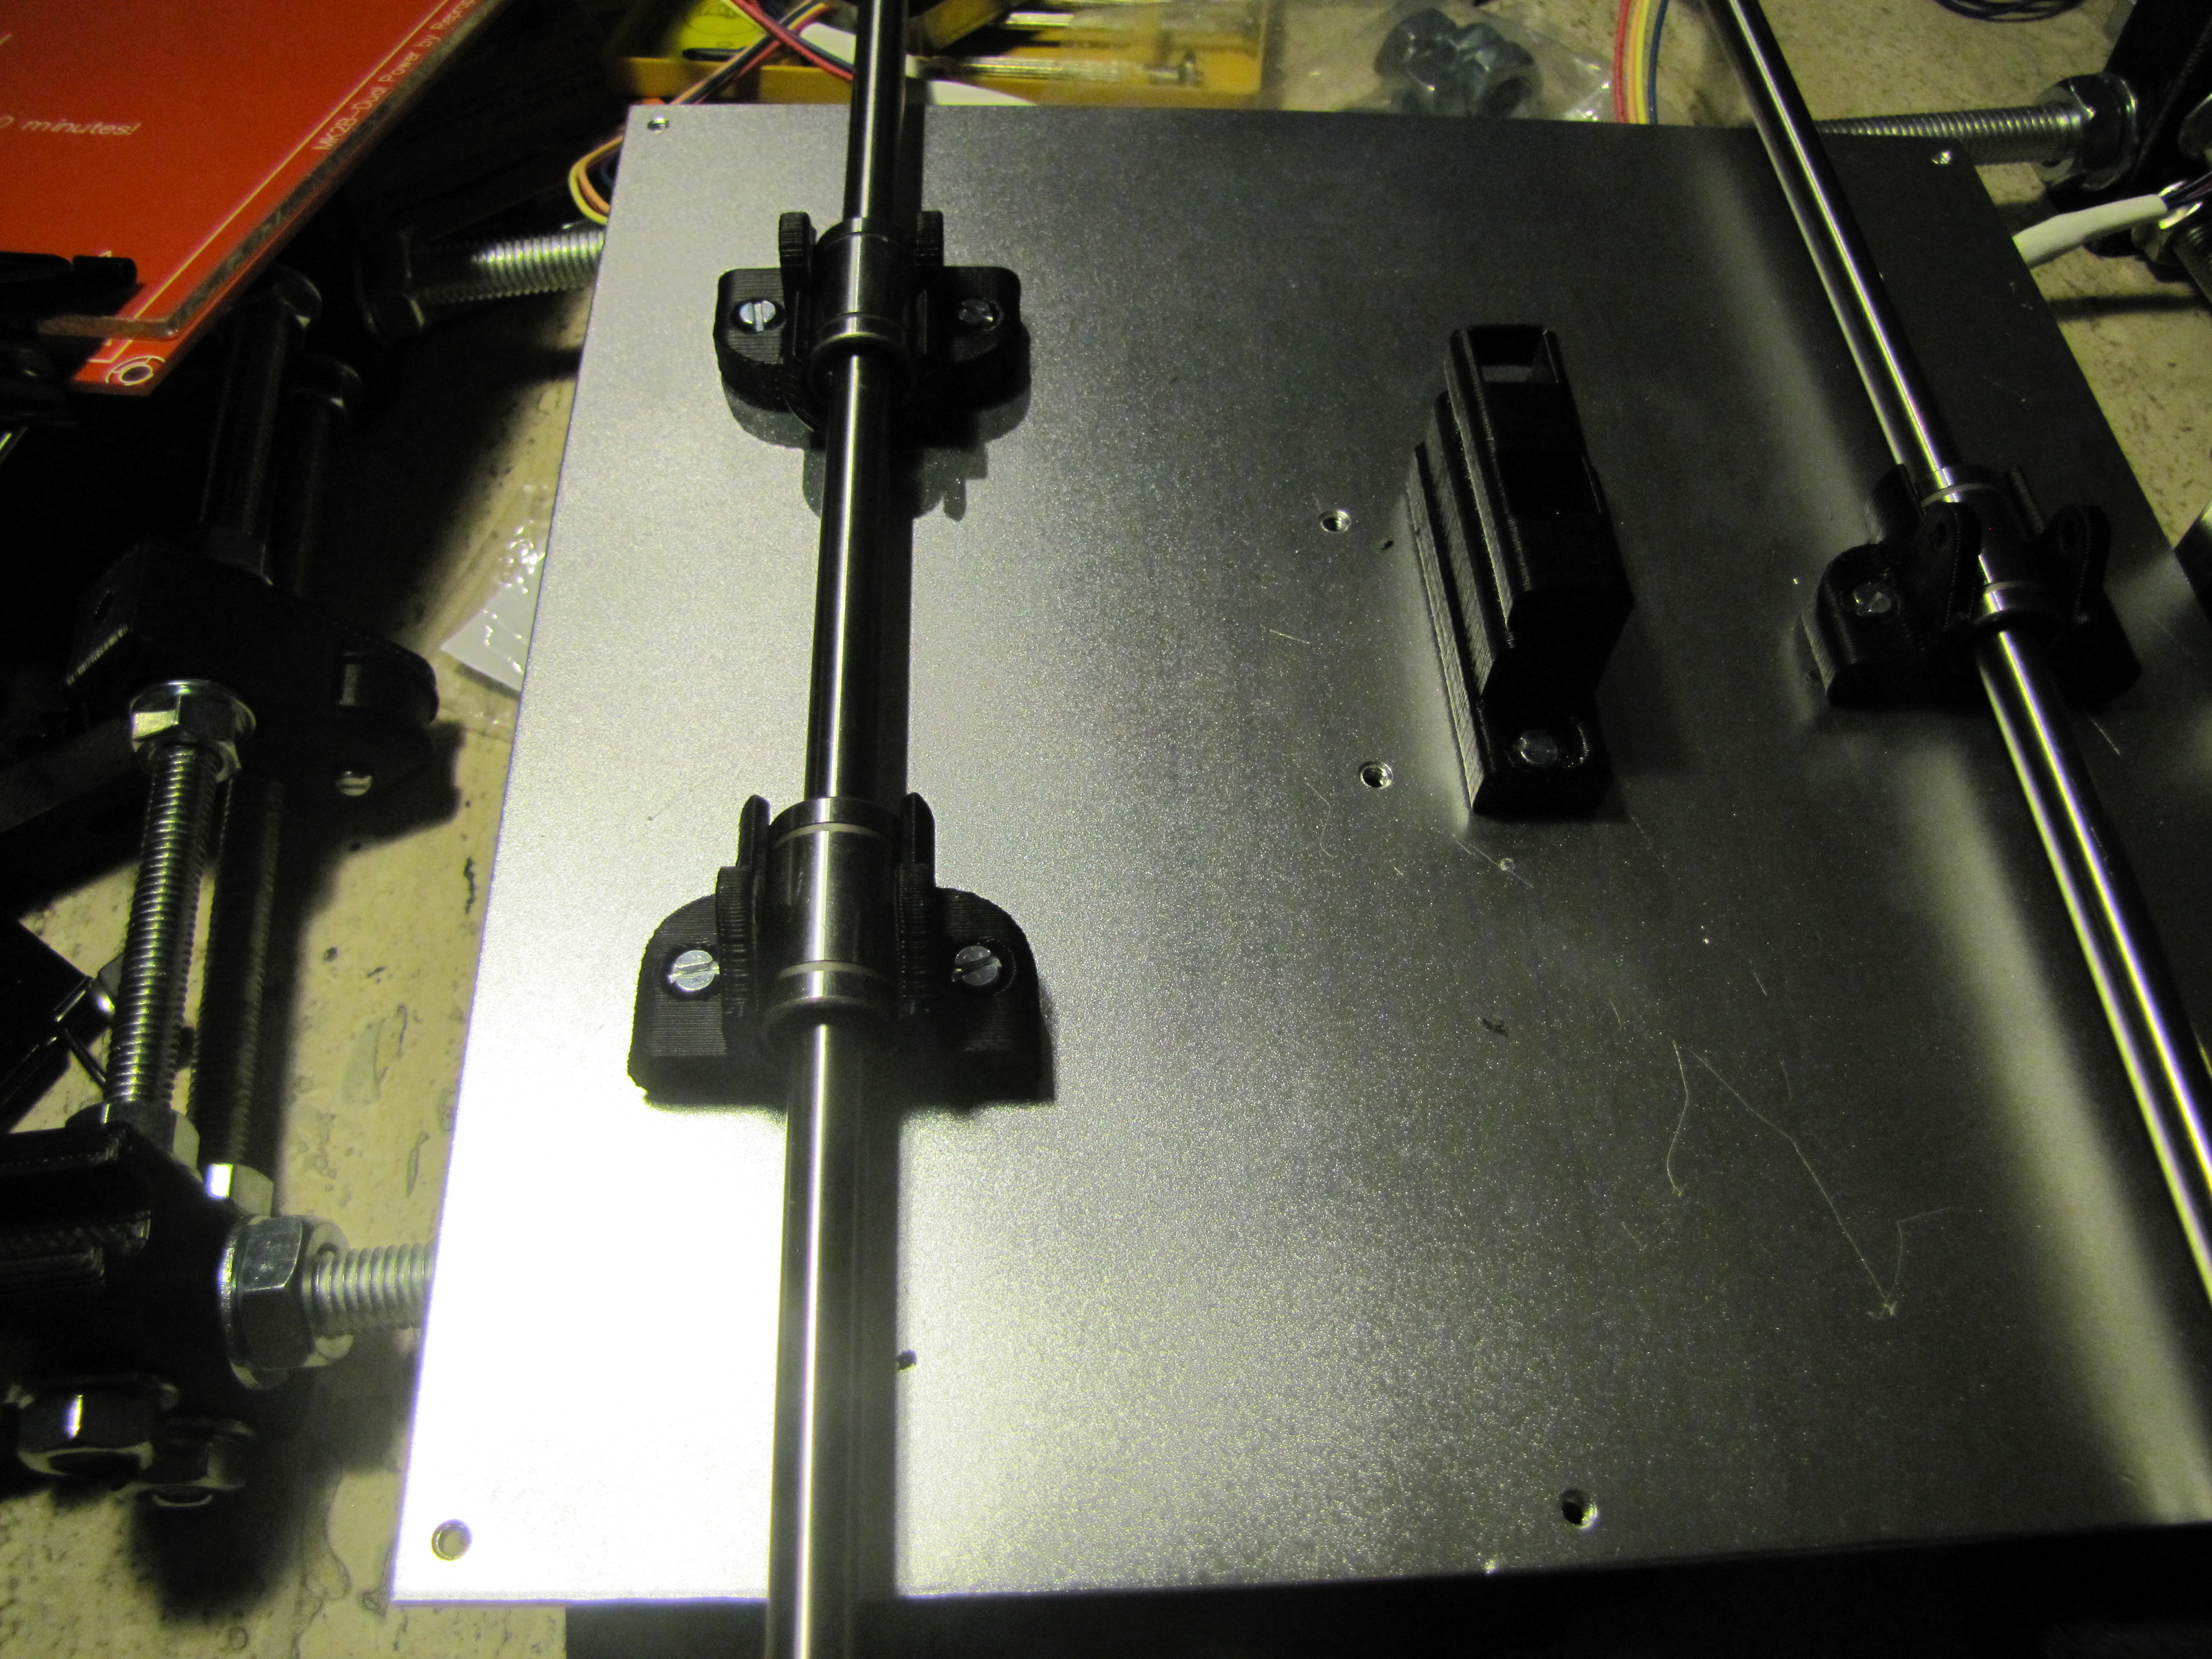
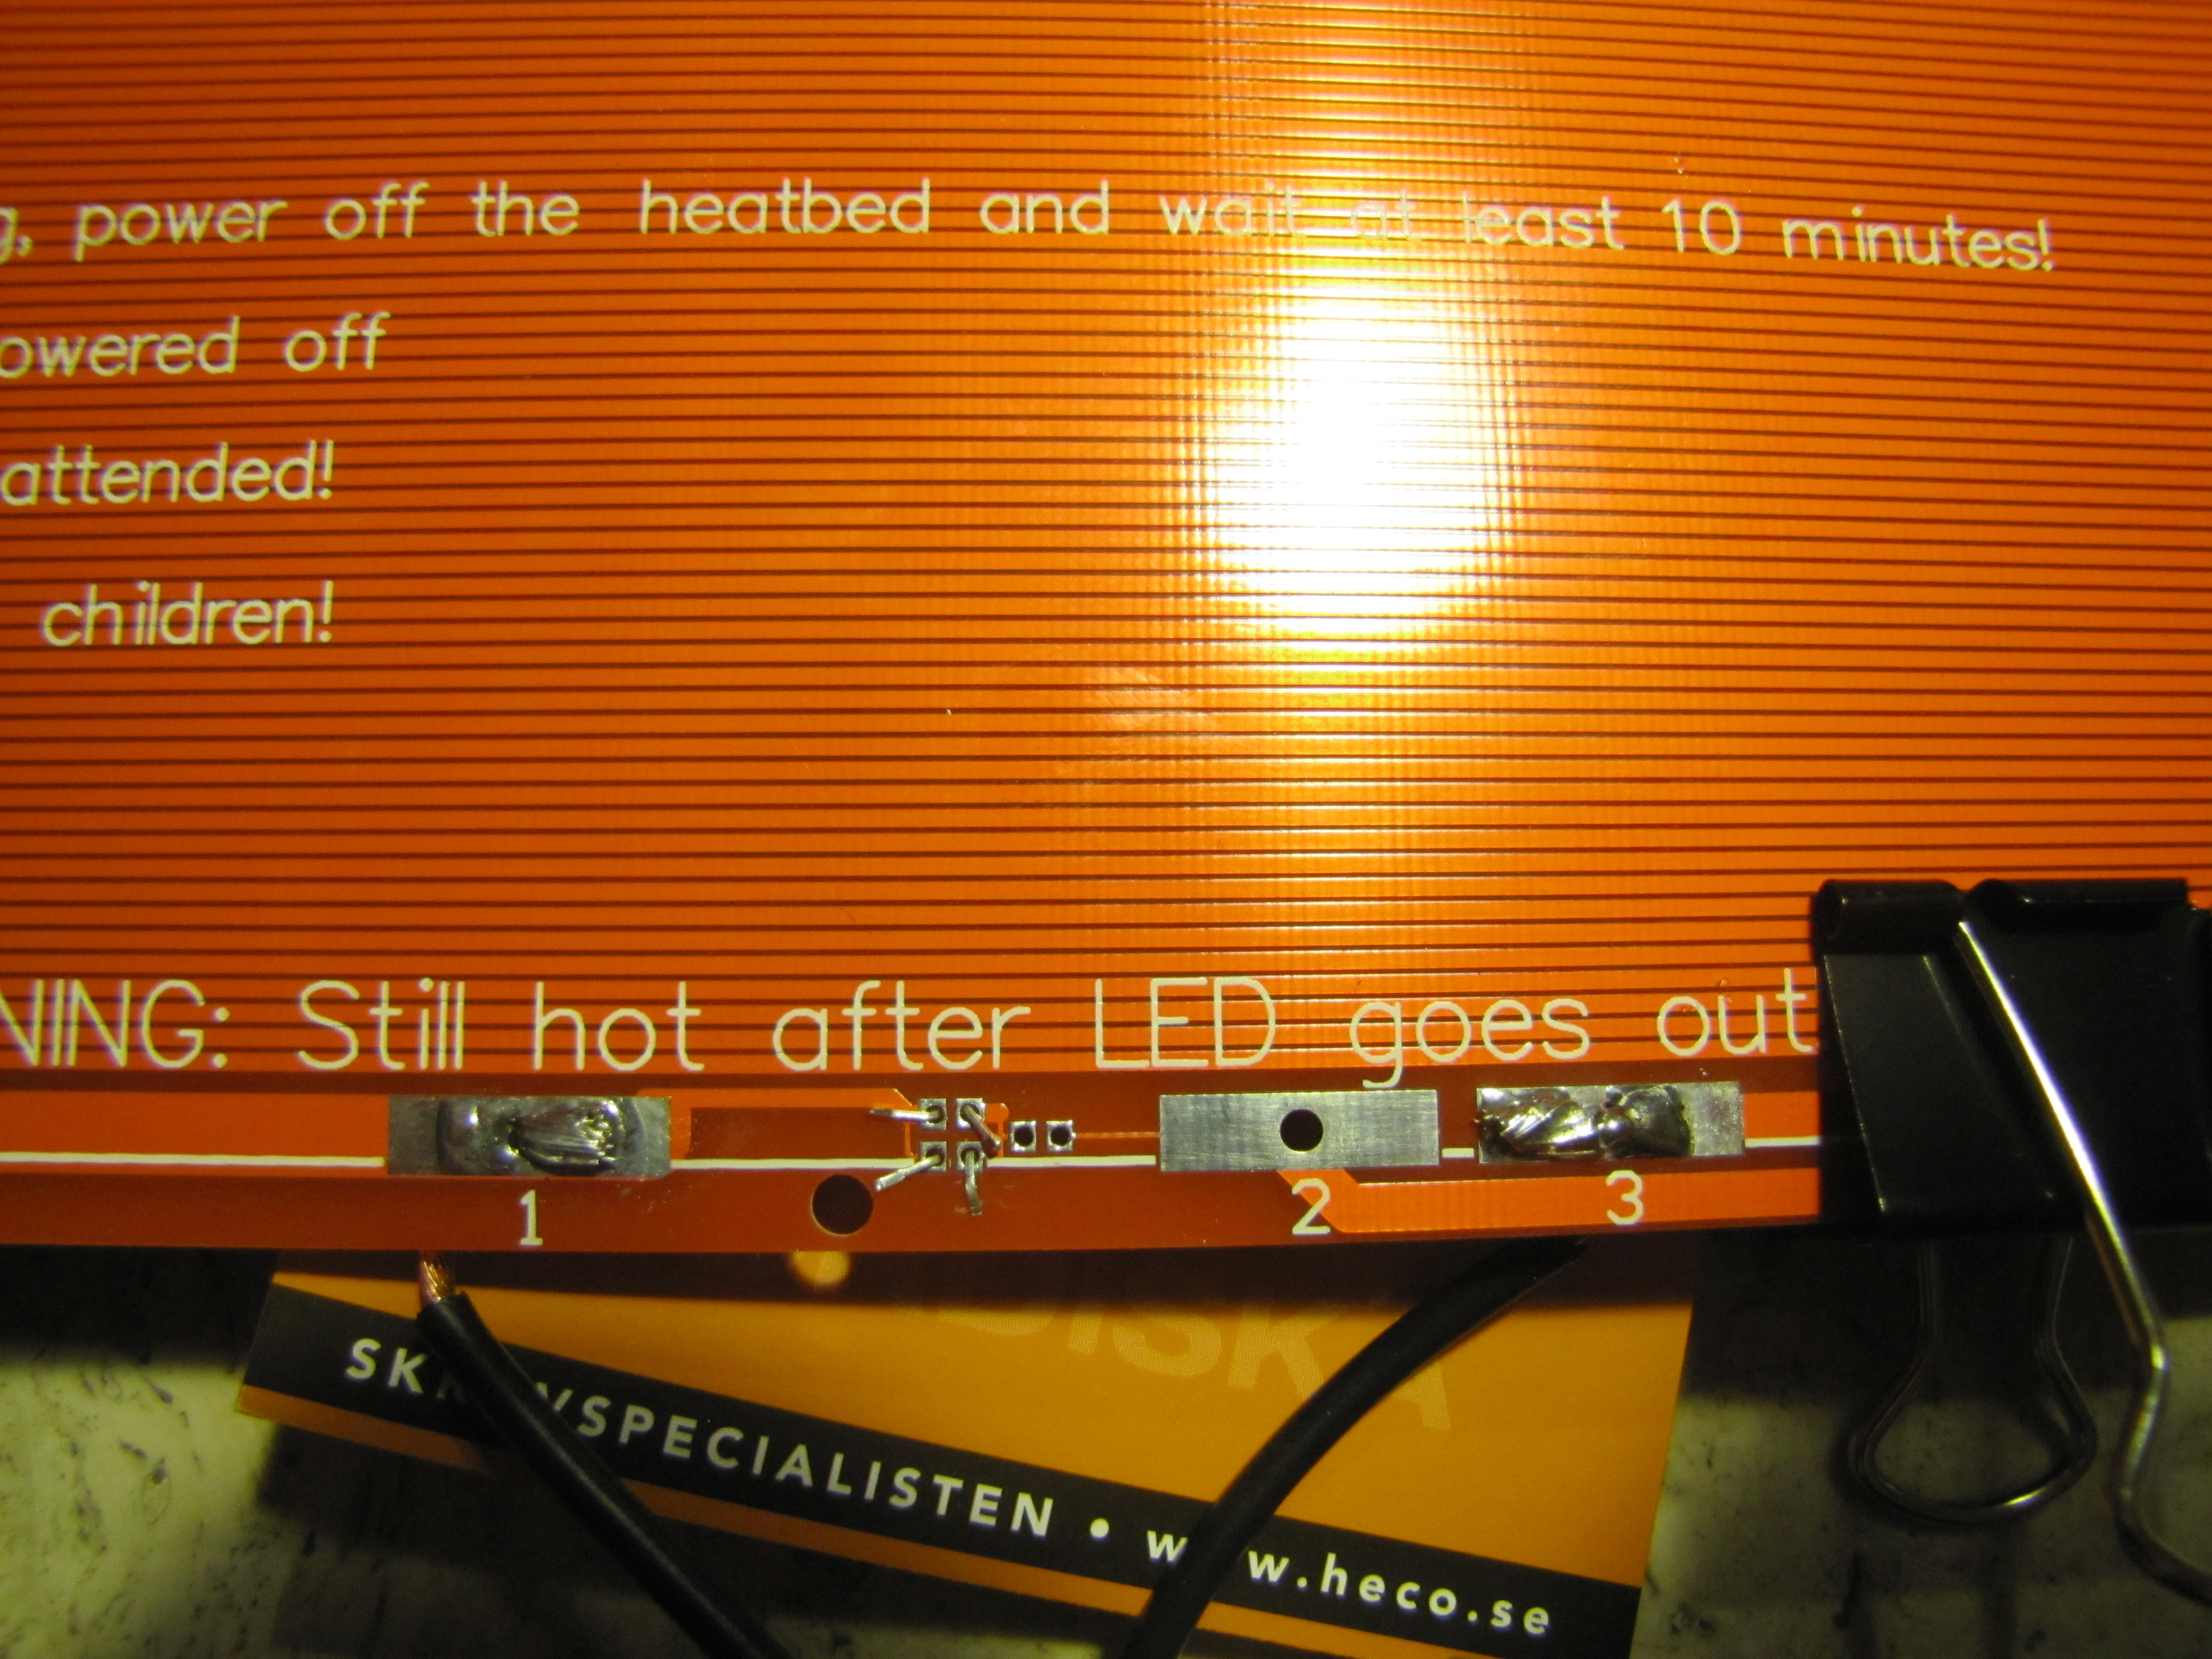
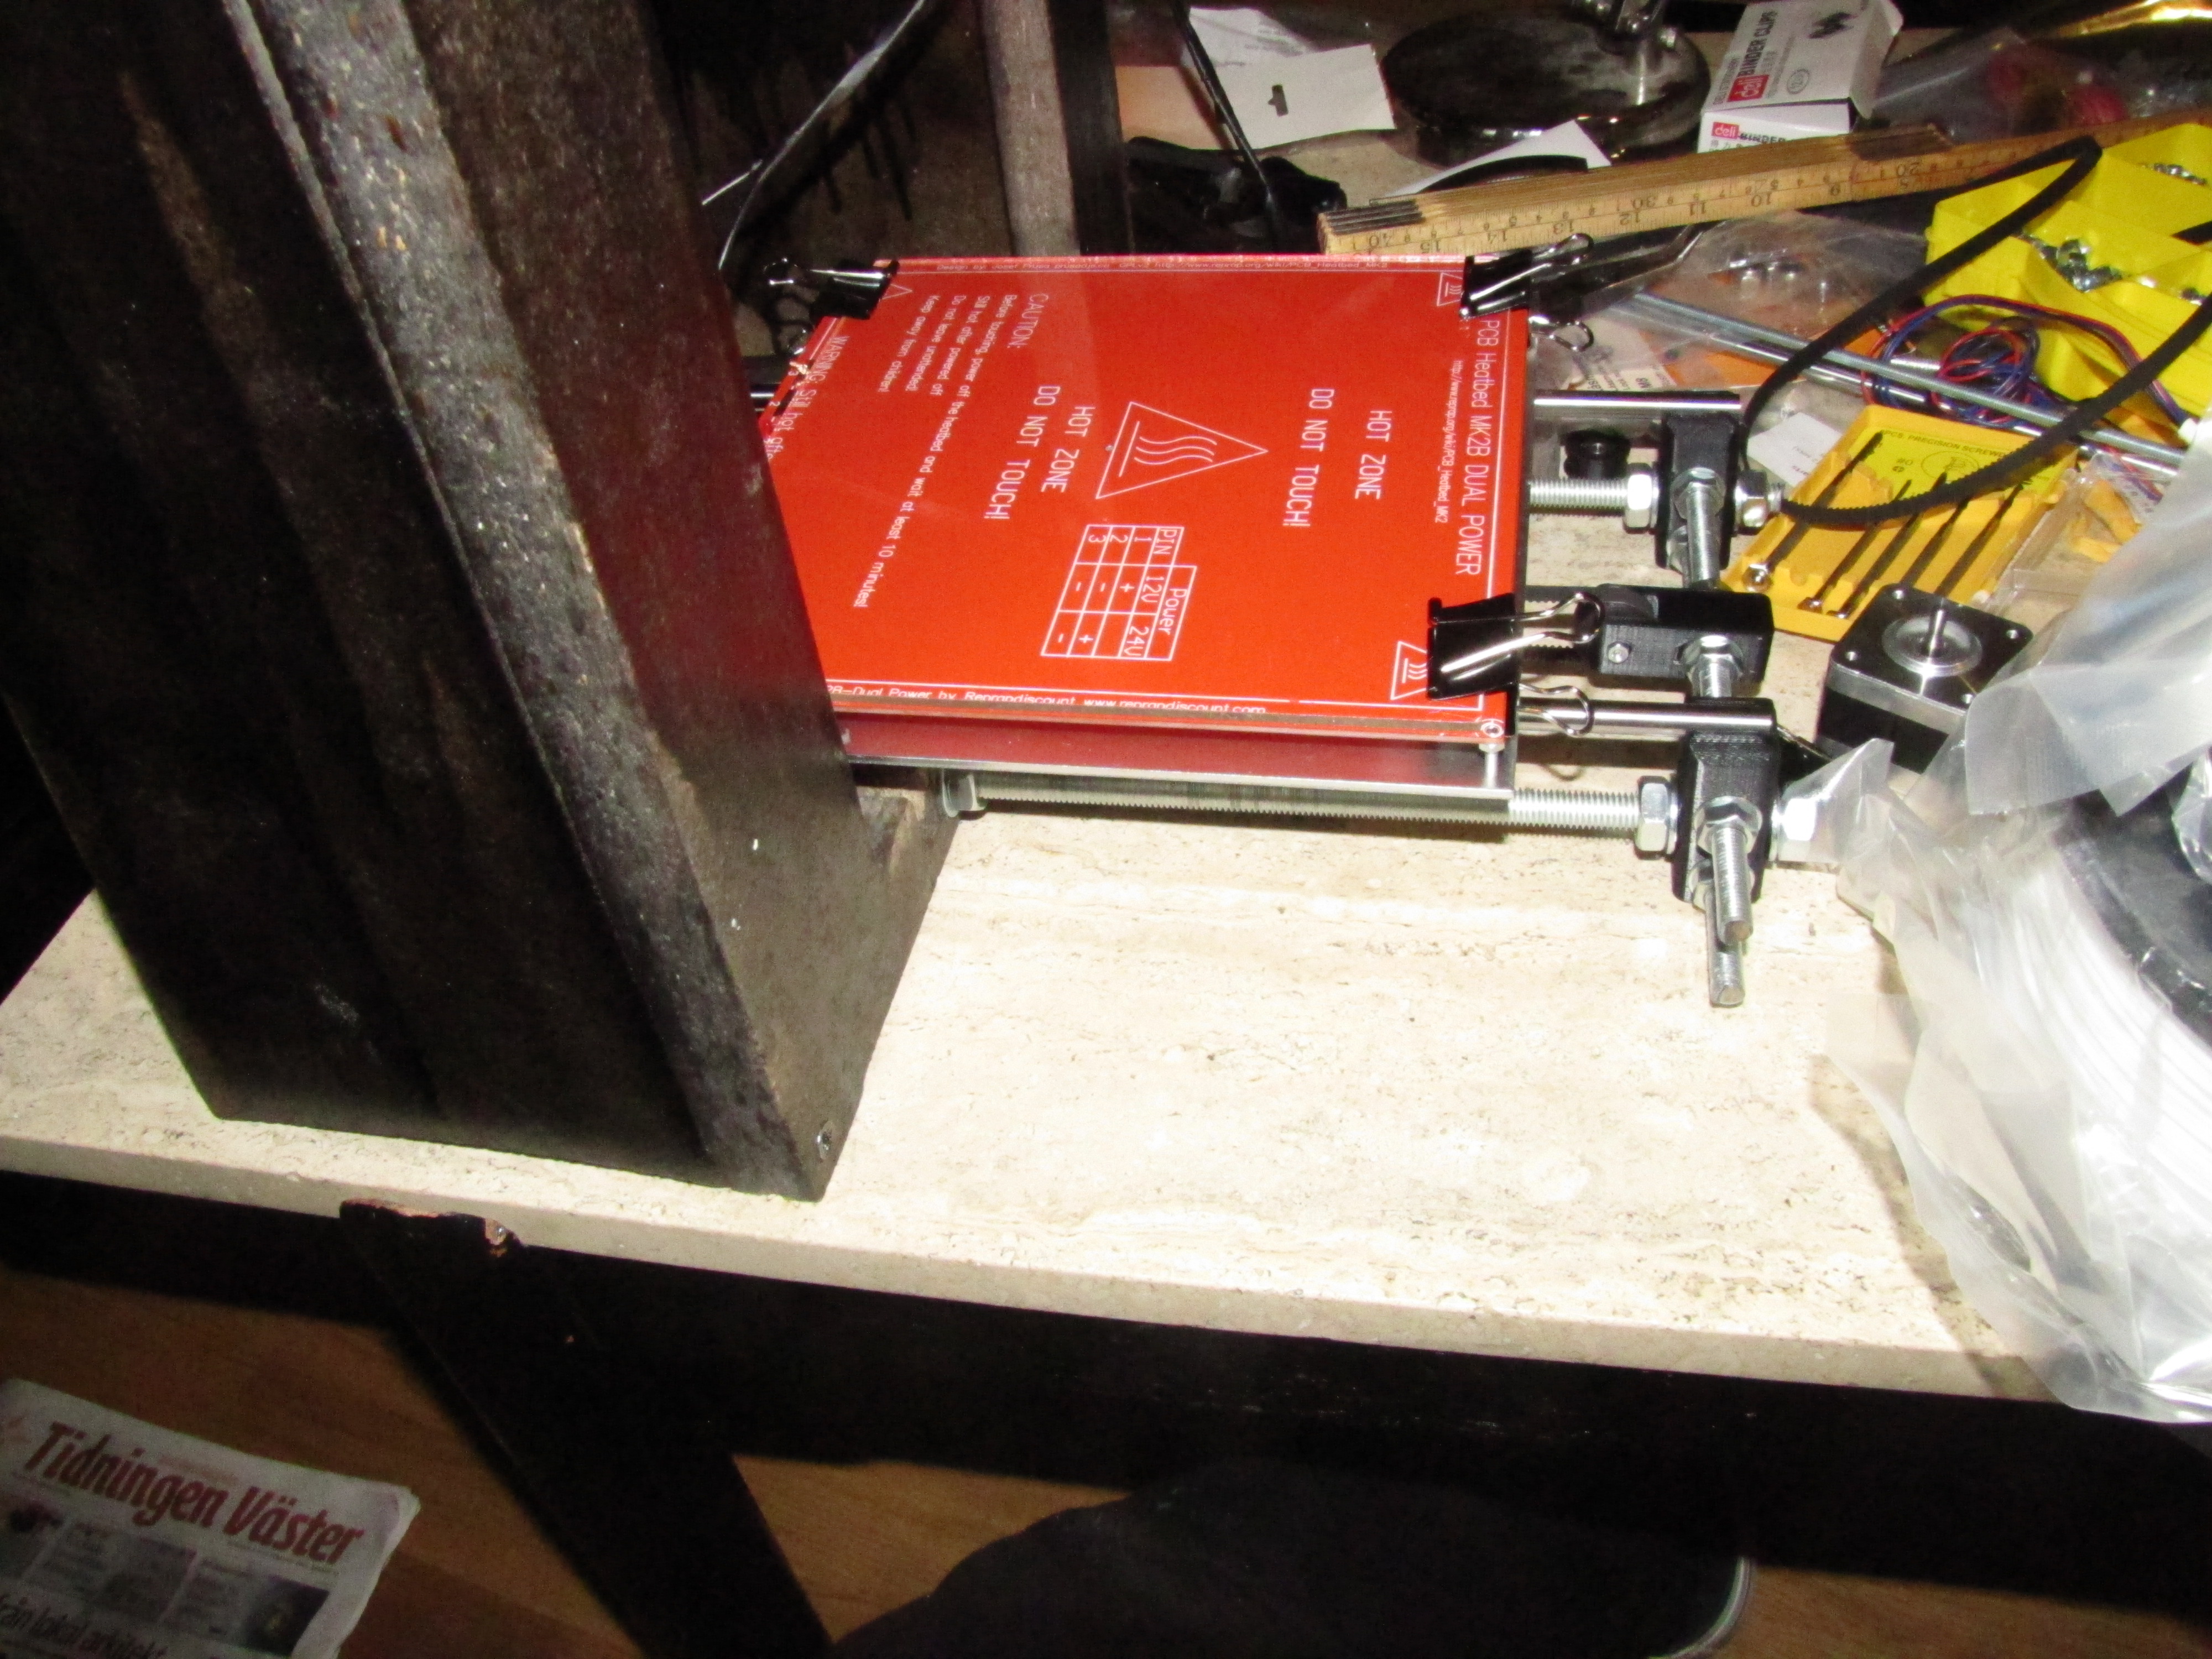
To make a long story short here are some pictures of the build process:
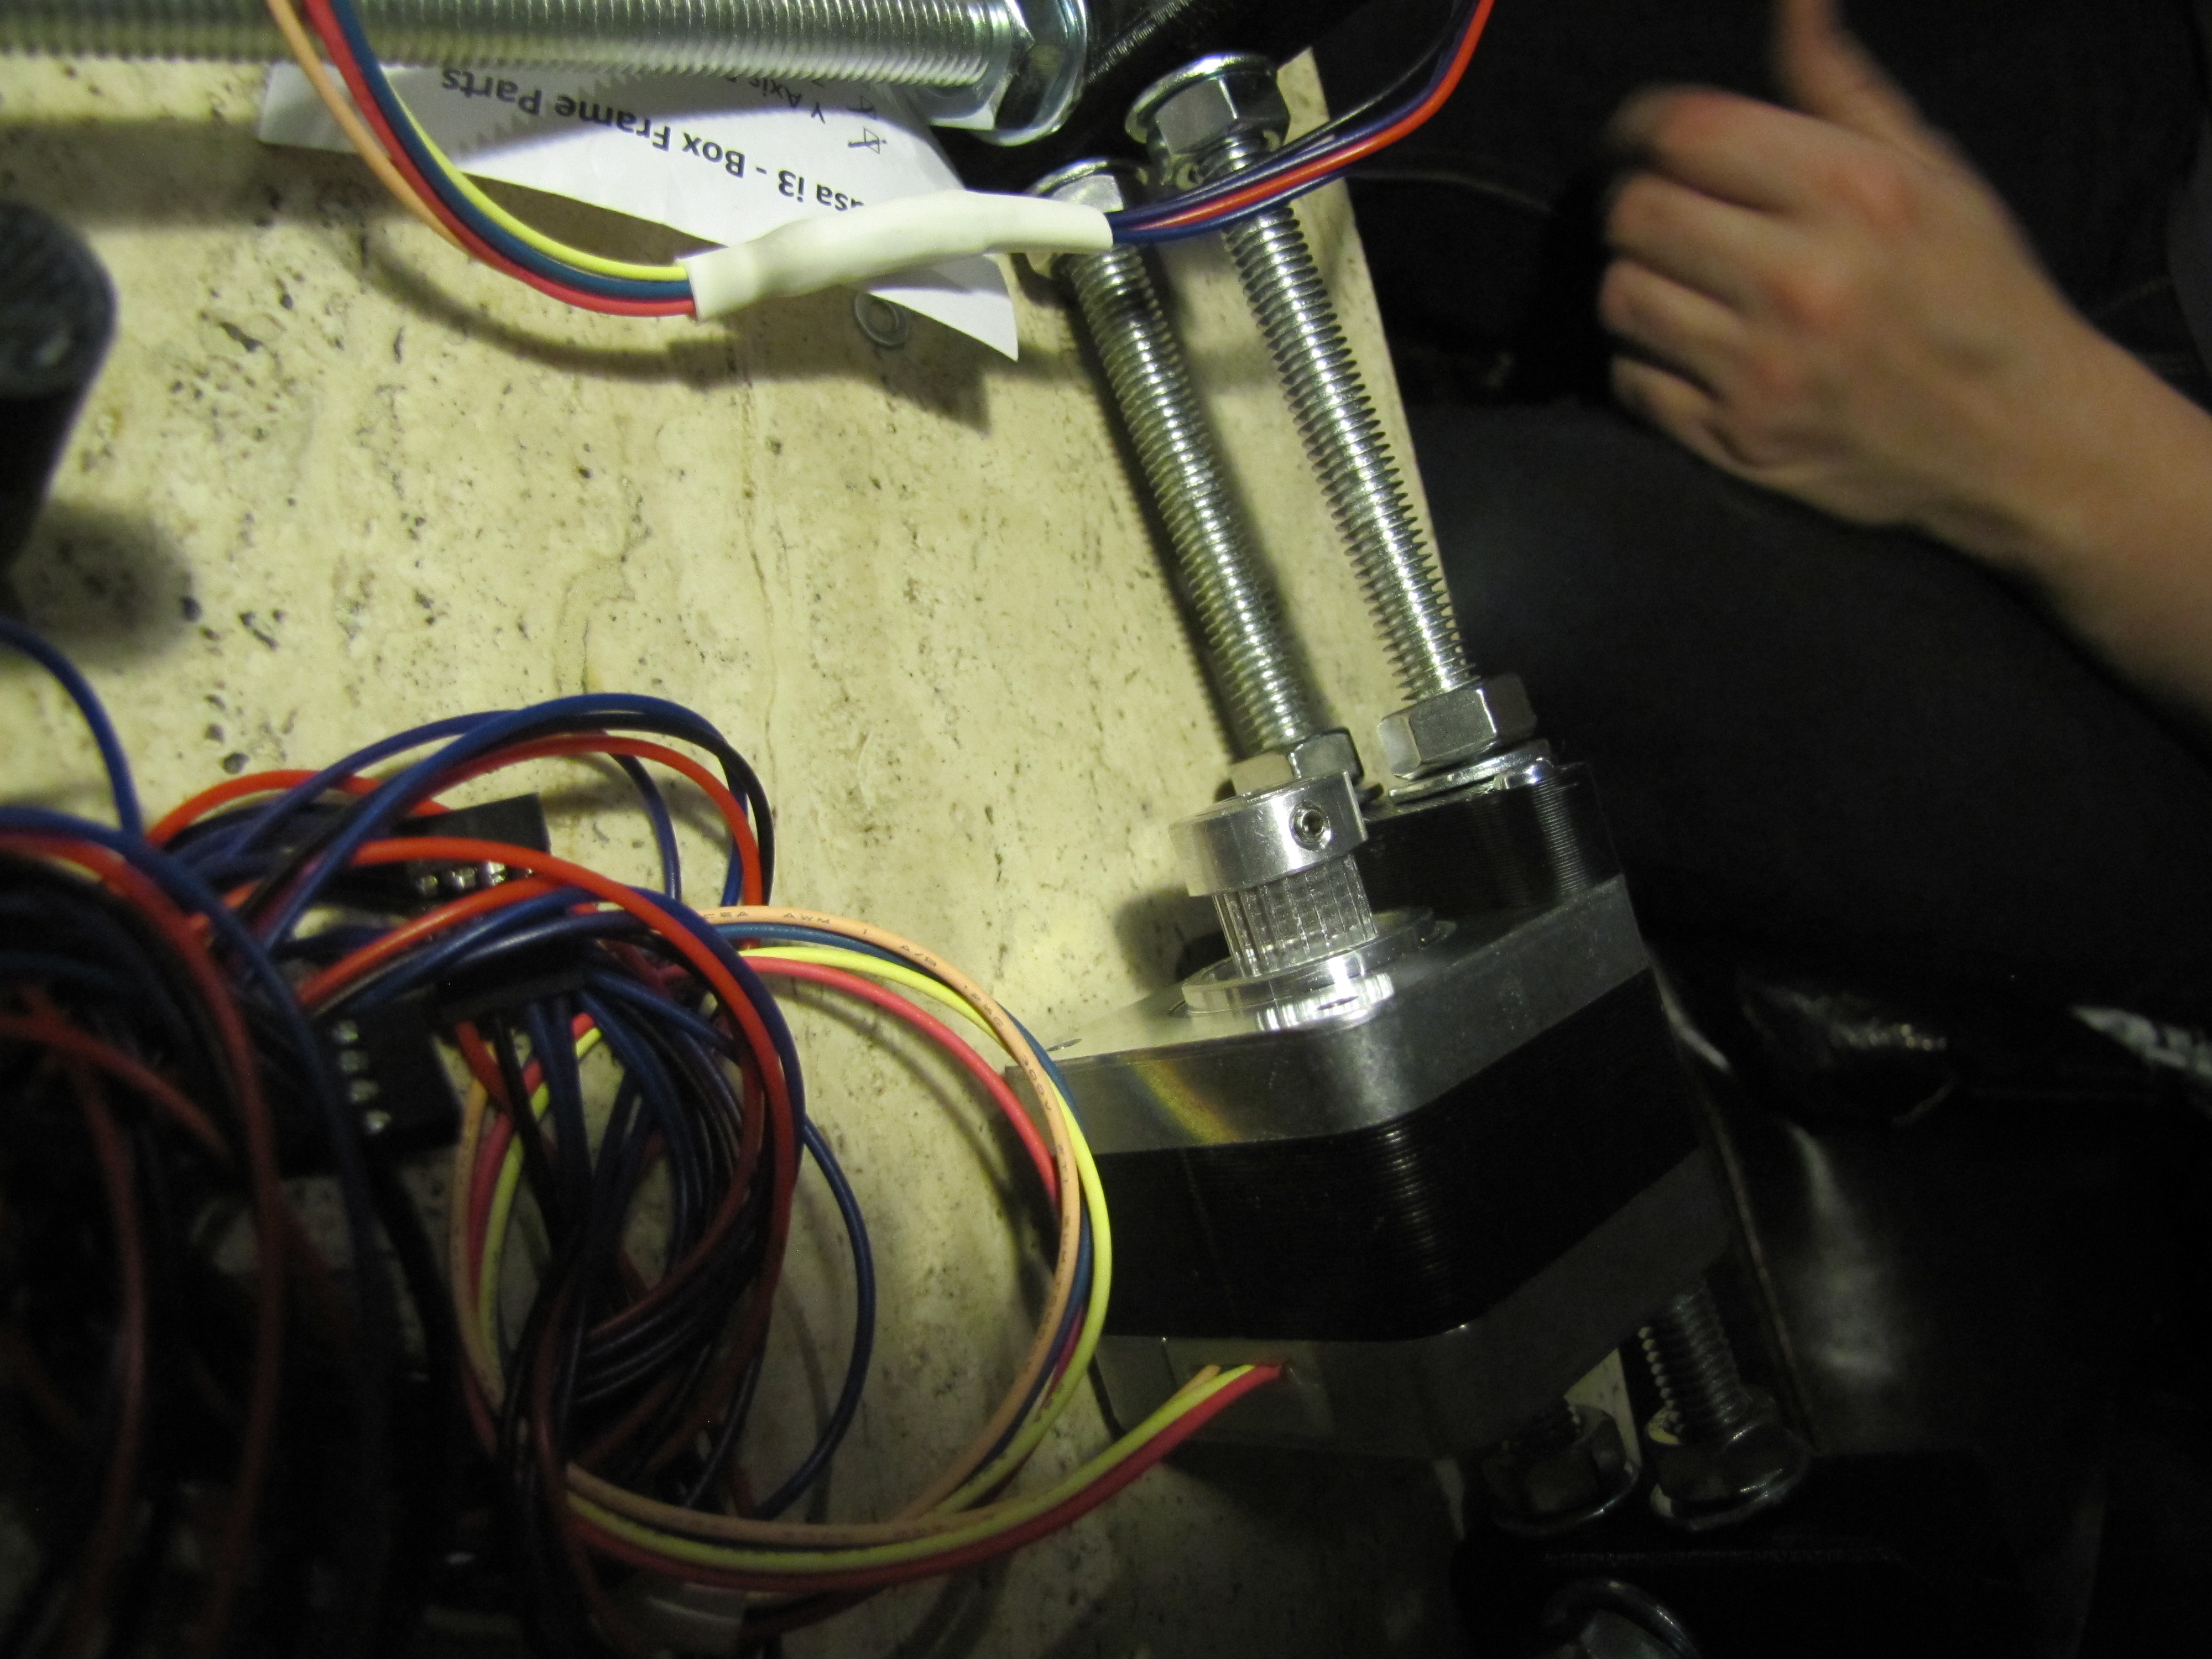
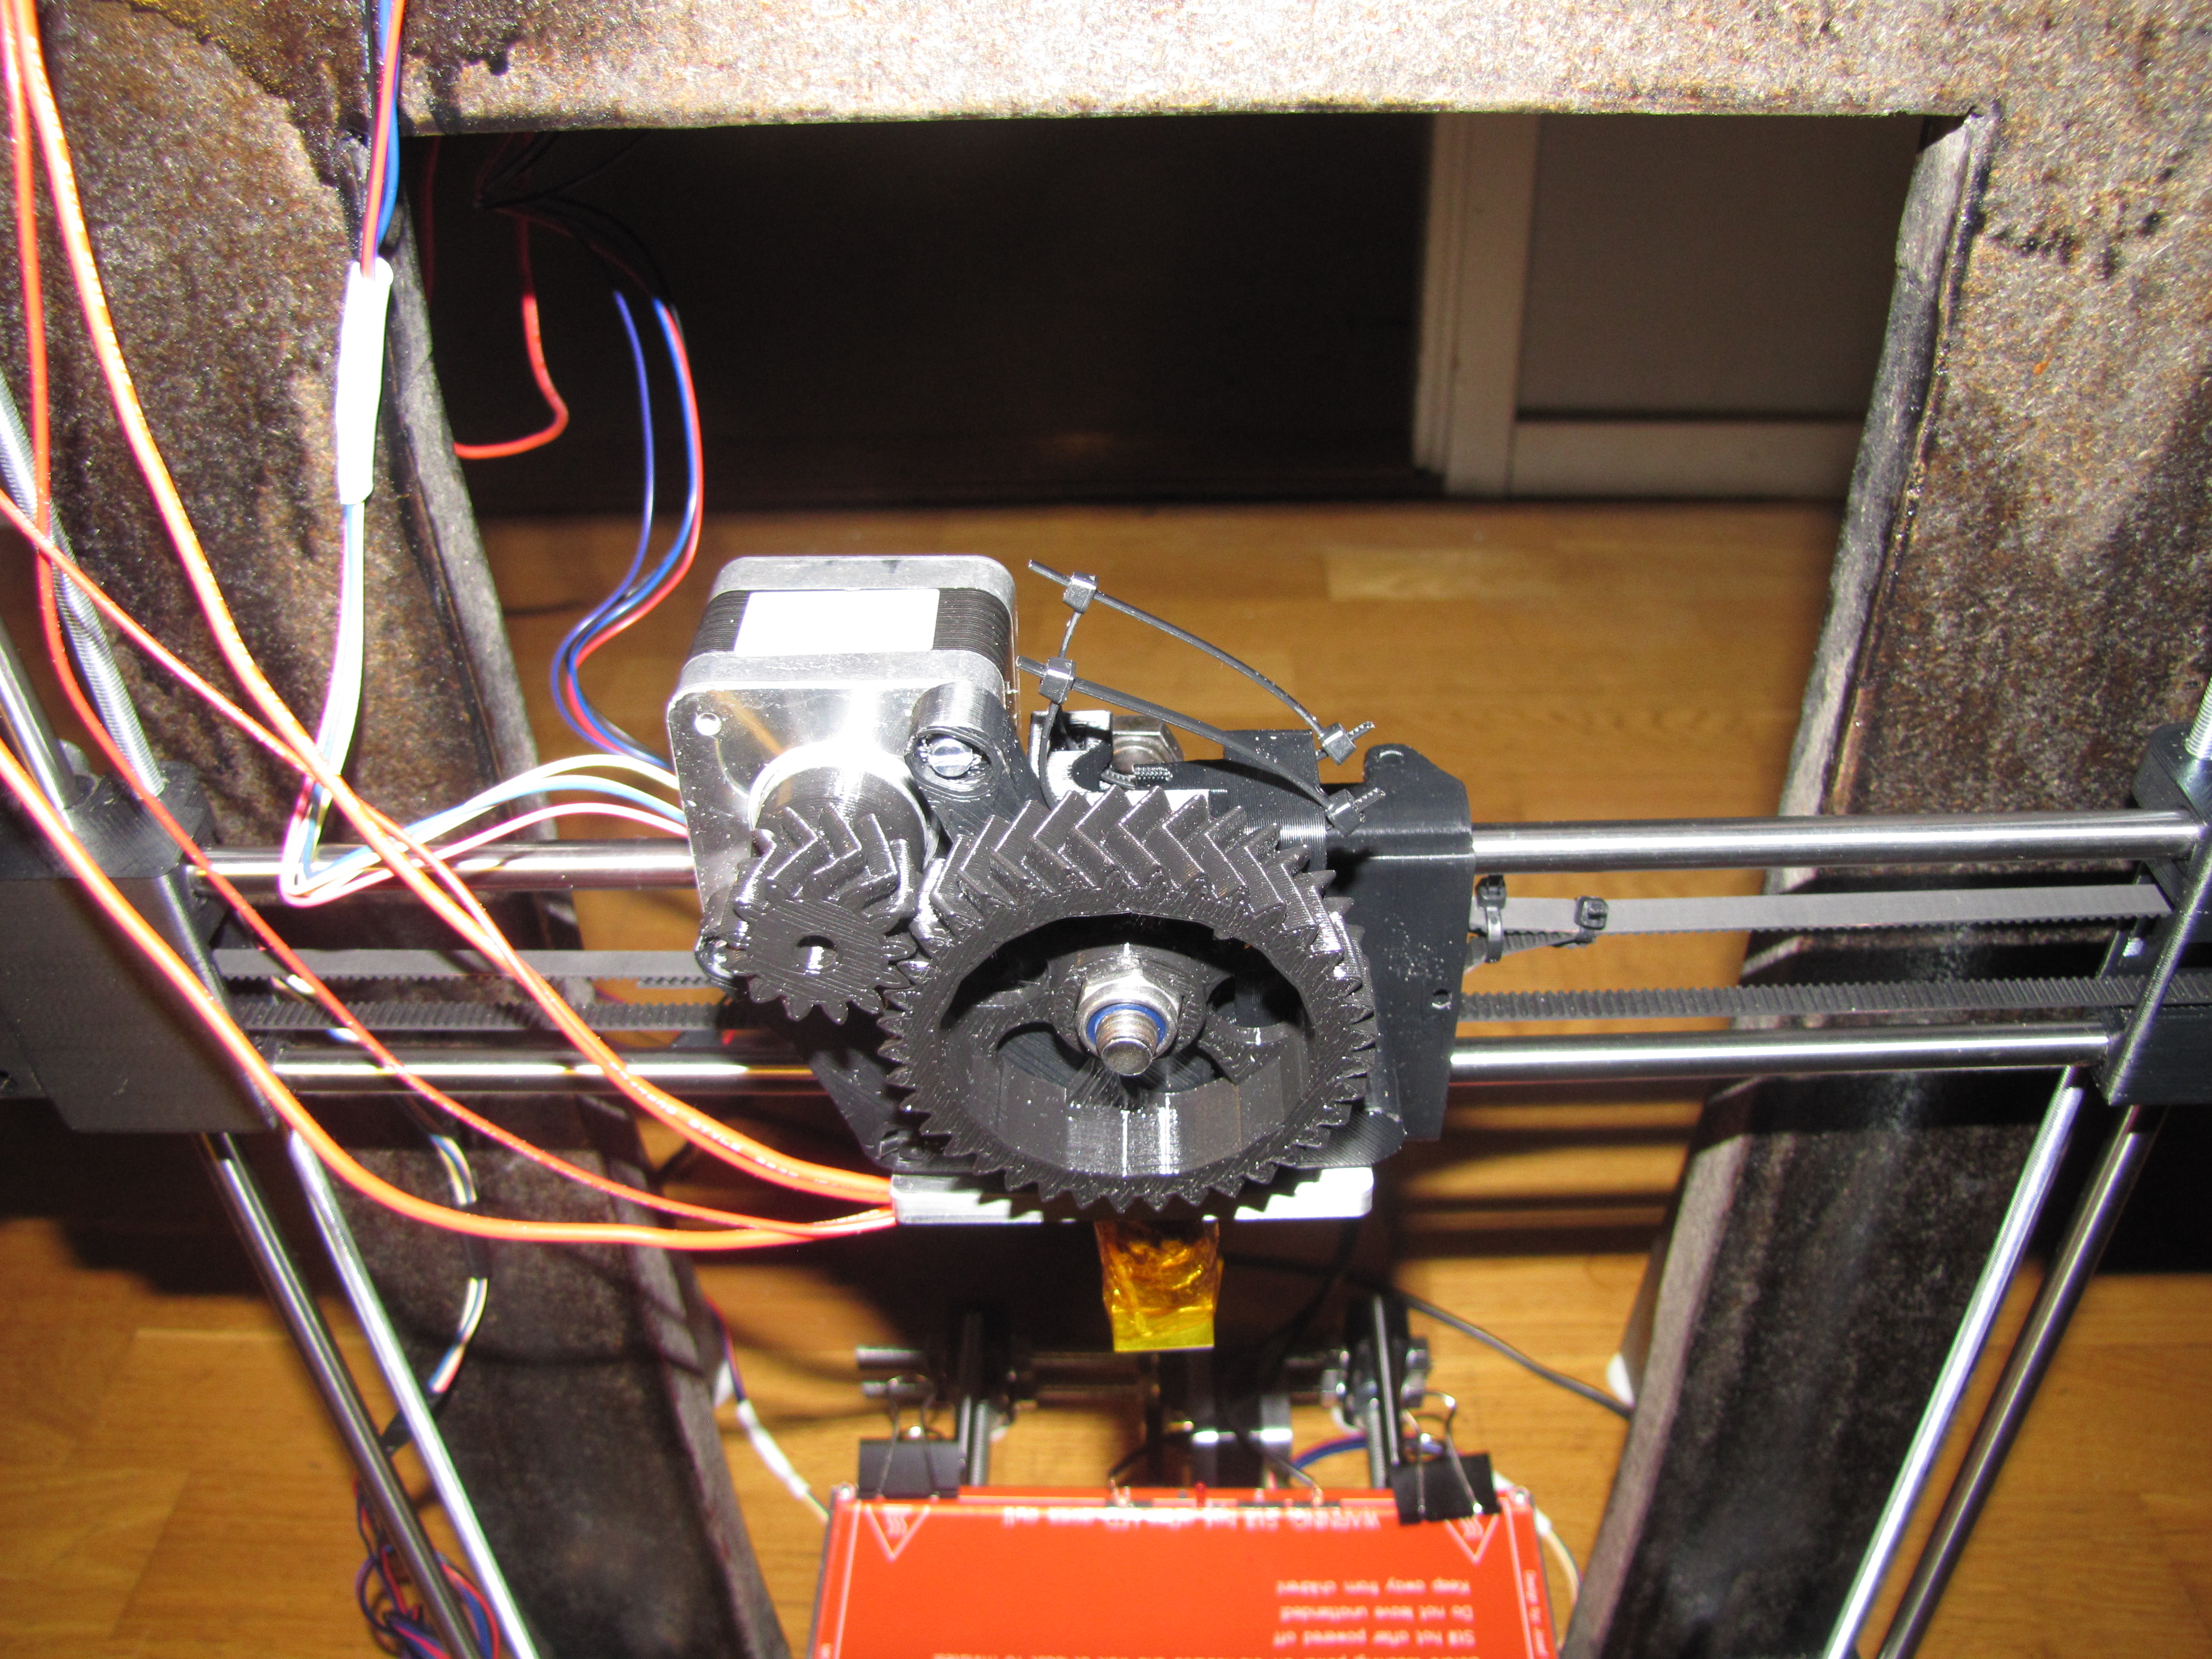

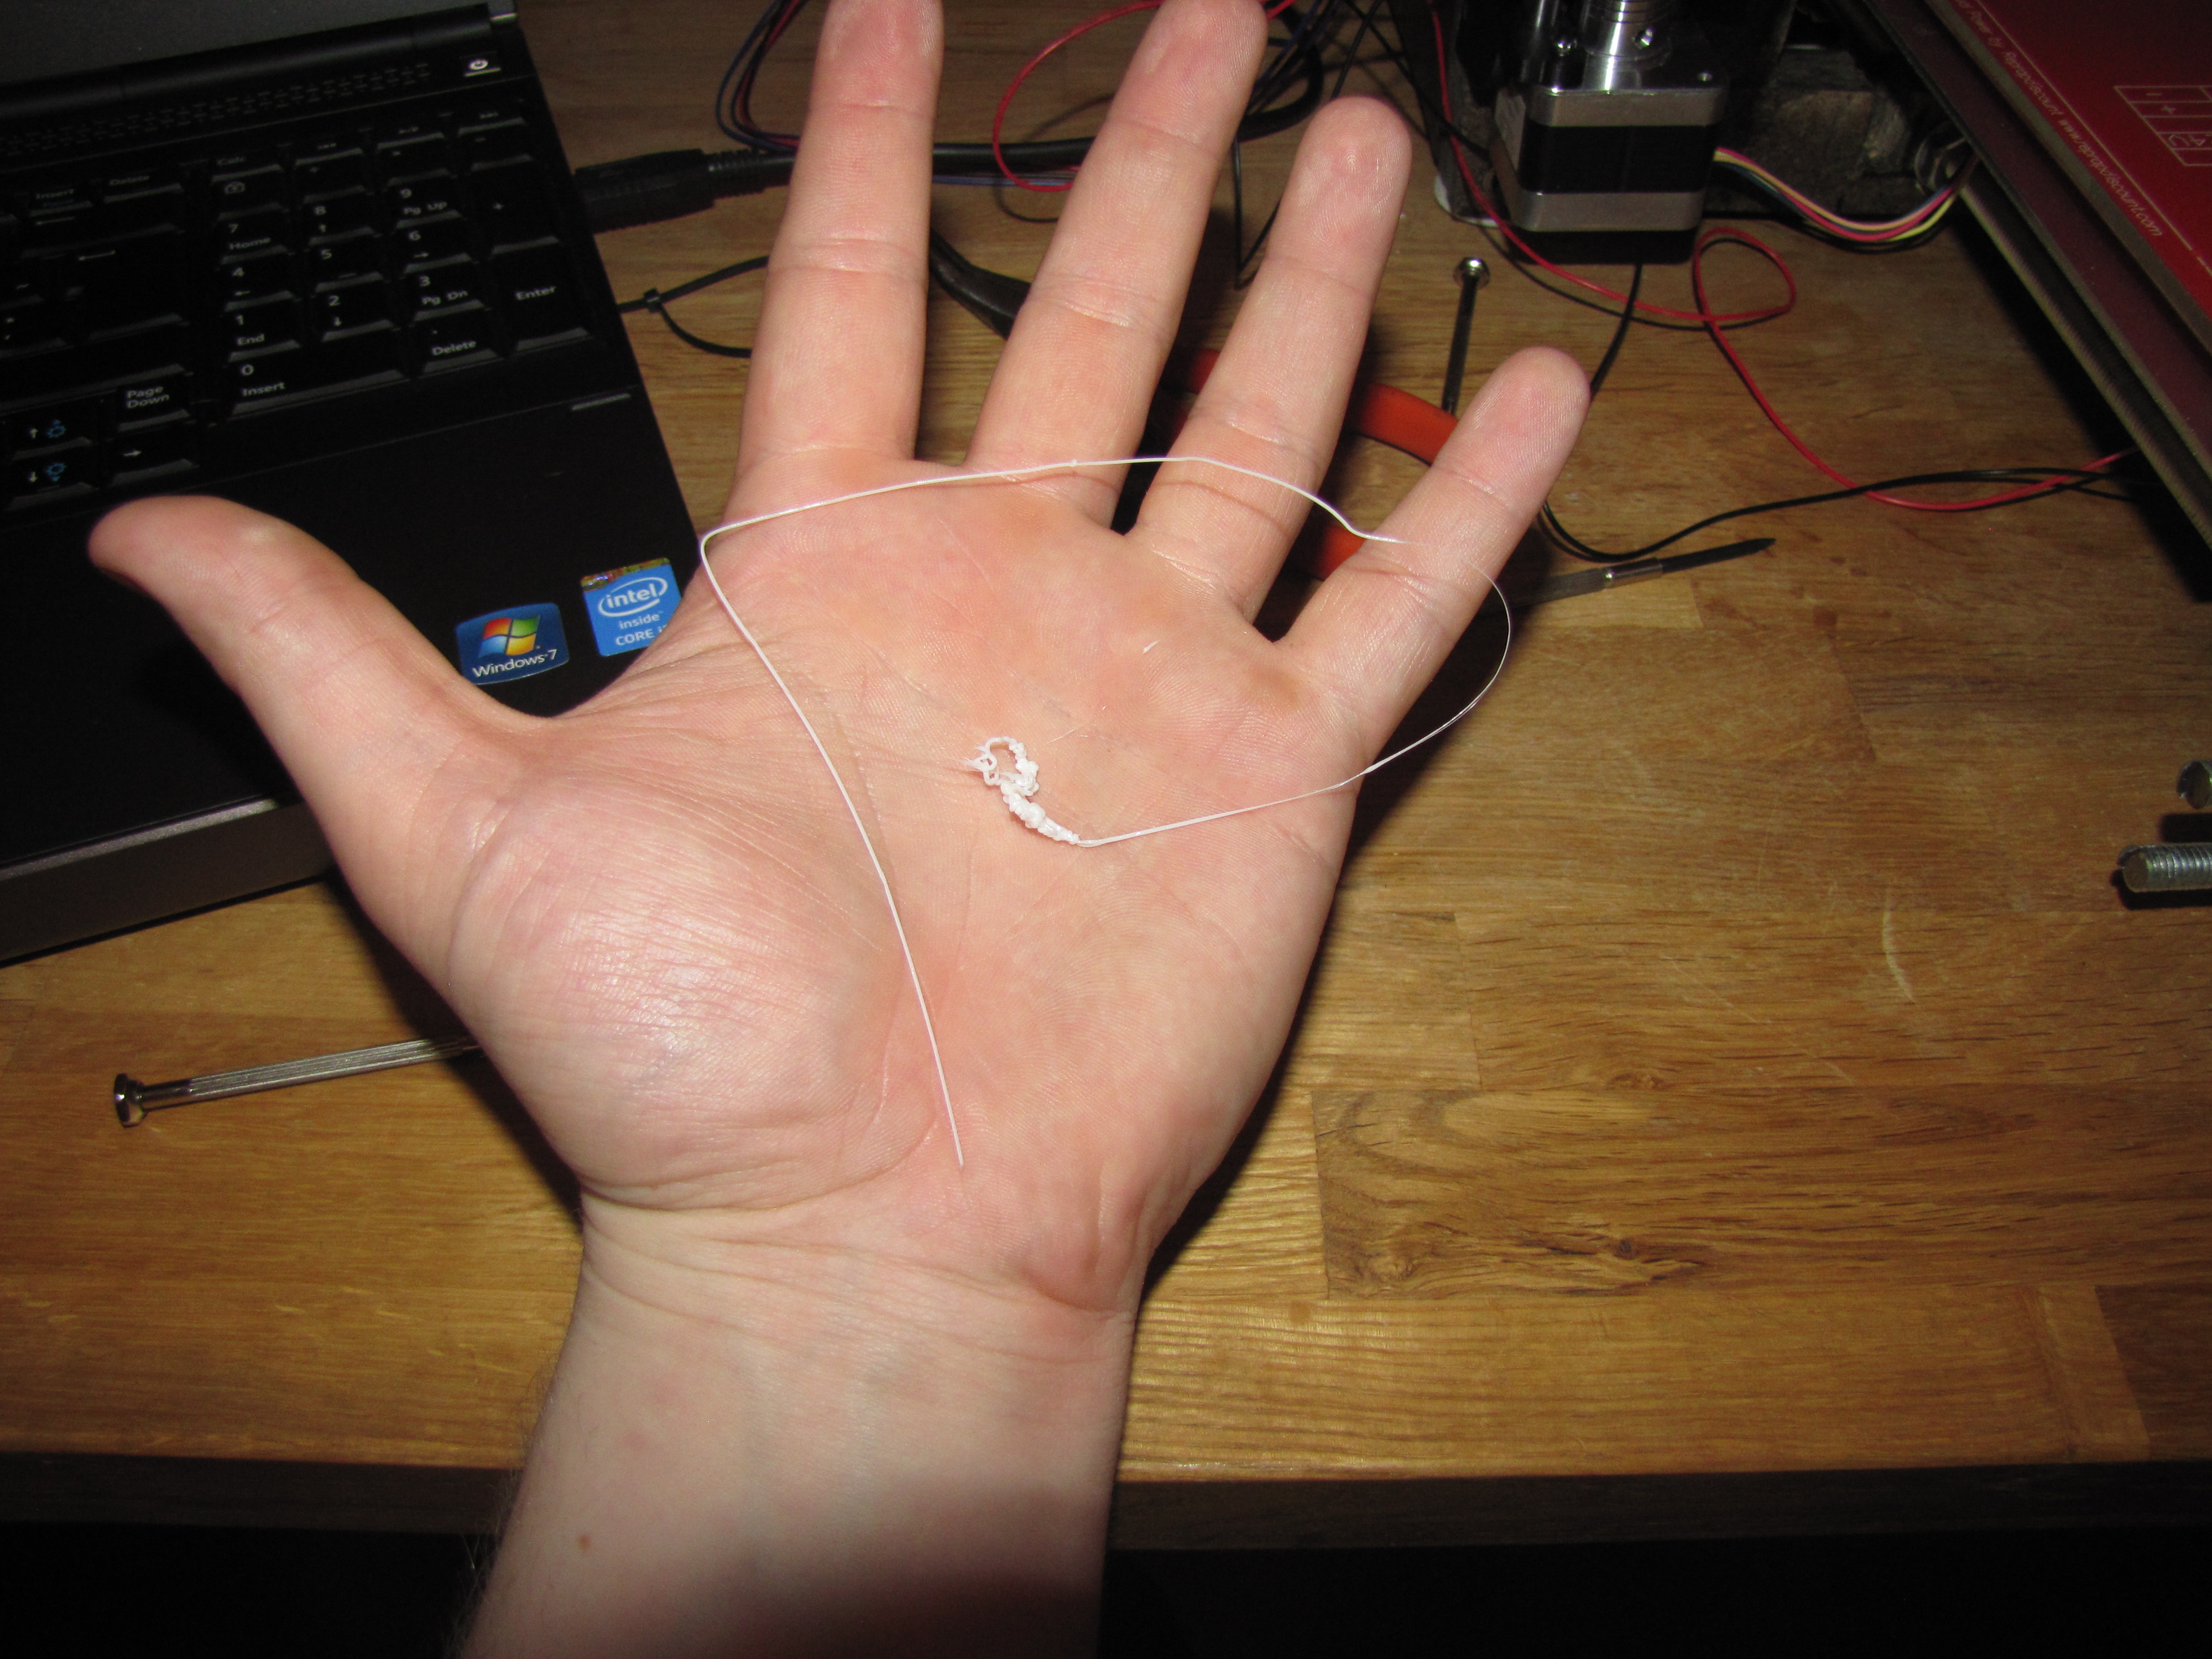
One issue we had was that the motors shaft diameter was 4mm and the pulleys had 5mm. We solved this by buying a brass pipe with 4mm inner and 5mm outer diameter.
We then cut the pipe and screwed them on. This kept the pulleys from rotating in an elipse and gave us a nice smooth circular and even rotation.
Not being the most experianced DIY guys we spent about half a billion hours on assembly. But in the end it worked and we managed to produce our first ever print!
Success!!!